
Configure Basic Authentication for MLflow
You can use the steps below to configure NGINX as a reverse proxy that protects access to MLflow running on a node with basic authentication (username and password).
Access http://<your-server> and enter the username and password to reach the MLflow UI running on a node.
Steps to install
- Install Nginx (if not already installed)
On Ubuntu/Debian:
sudo apt update
sudo apt install nginx -y
On RHEL/CentOS:
sudo yum install nginx -y
sudo systemctl enable nginx
- Install apache2-utils to create .htpasswd.
sudo apt install apache2-utils # Debian/Ubuntu
# OR
sudo yum install httpd-tools # RHEL/CentOS
- Create the password file (.htpasswd).
sudo htpasswd -c /etc/nginx/.htpasswd mlflowuser
You’ll be prompted to enter a password. Replace mlflowuser with your preferred username.
- Configure Nginx reverse proxy with basic authentication.
Edit or create the file:
sudo nano /etc/nginx/conf.d/mlflow.conf
Paste this configuration:
server {
 listen 80;
 server_name 10.100.11.72;

 location / {
 proxy_pass http://10.100.11.72:5000;
 proxy_set_header Host $host;
 proxy_set_header X-Real-IP $remote_addr;

 auth_basic "Restricted Access";
 auth_basic_user_file /etc/nginx/.htpasswd;
 }
}
Optional: Replace mlflow.local with your domain or server IP, or use _ to match all incoming requests.
- Test and reload Nginx
sudo nginx -t
sudo systemctl reload nginx
- (Optional) Add a hosts entry for mlflow.local.
If you're using a custom domain name like mlflow.local, add an entry on your local machine to map it to the MLflow server.
Open the hosts file:
sudo nano /etc/hosts
Add the following line (replace with your server IP if different):
<IP address> mlflow.local
Save and close the file.
This is only needed if you're using a fake domain instead of the IP.
Secure MLflow with SSL (Optional but Recommended)
- Generate a self-signed SSL certificate
sudo openssl req -x509 -nodes -days 365 -newkey rsa:2048 \
 -keyout /etc/ssl/private/mlflow.key \
 -out /etc/ssl/certs/mlflow.crt
- Update your NGINX config to use SSL.
server {
 listen 443 ssl;
 server_name mlflow.local;

 ssl_certificate /etc/ssl/certs/mlflow.crt;
 ssl_certificate_key /etc/ssl/private/mlflow.key;

 location / {
 proxy_pass http://10.100.11.72:5000;
 proxy_set_header Host $host;
 proxy_set_header X-Real-IP $remote_addr;

 auth_basic "Restricted Access";
 auth_basic_user_file /etc/nginx/.htpasswd;
 }
}
- Open port 443 in the firewall.
sudo ufw allow 'Nginx Full' # Ubuntu
sudo firewall-cmd --add-service=https --permanent # RHEL/CentOS
sudo firewall-cmd --reload
Optional: Test Access Using curl
Run the following command to test basic authentication with your MLflow server.
curl -u mlflowuser <IP Address>
Username - mlflowuser
Password - admin
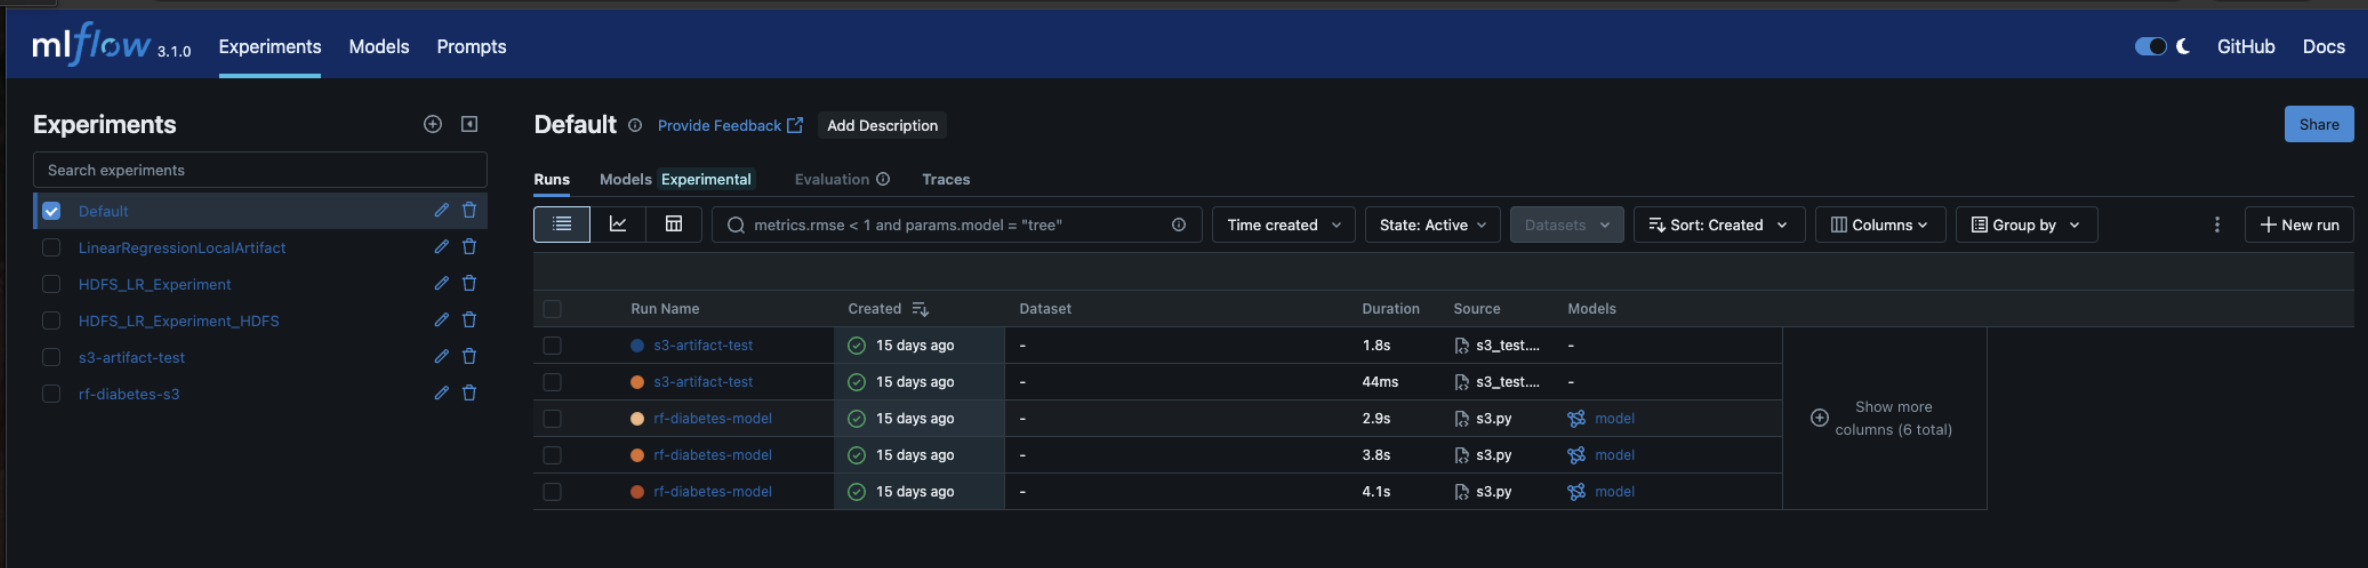
This verifies that the NGINX reverse proxy and basic authentication are working as expected.
Have a suggestion?