NiFi Setup, Security, and Registry Configuration
NiFi Installation and SSL Enablement
NiFi automates data movement between systems. We define dataflow as the orchestrated movement of information across systems, a concept crucial since the introduction of enterprises with multiple systems—some generating and others consuming data. The challenges and solutions in this area are extensively documented, notably in Enterprise Integration Patterns, which offers a detailed guide to these practices.
Installing NiFi
To install NiFi, perform the following steps:
- Install the NiFi-Mpack on the Ambari node, then restart Ambari.
- Add the NiFi service through the Ambari user interface.
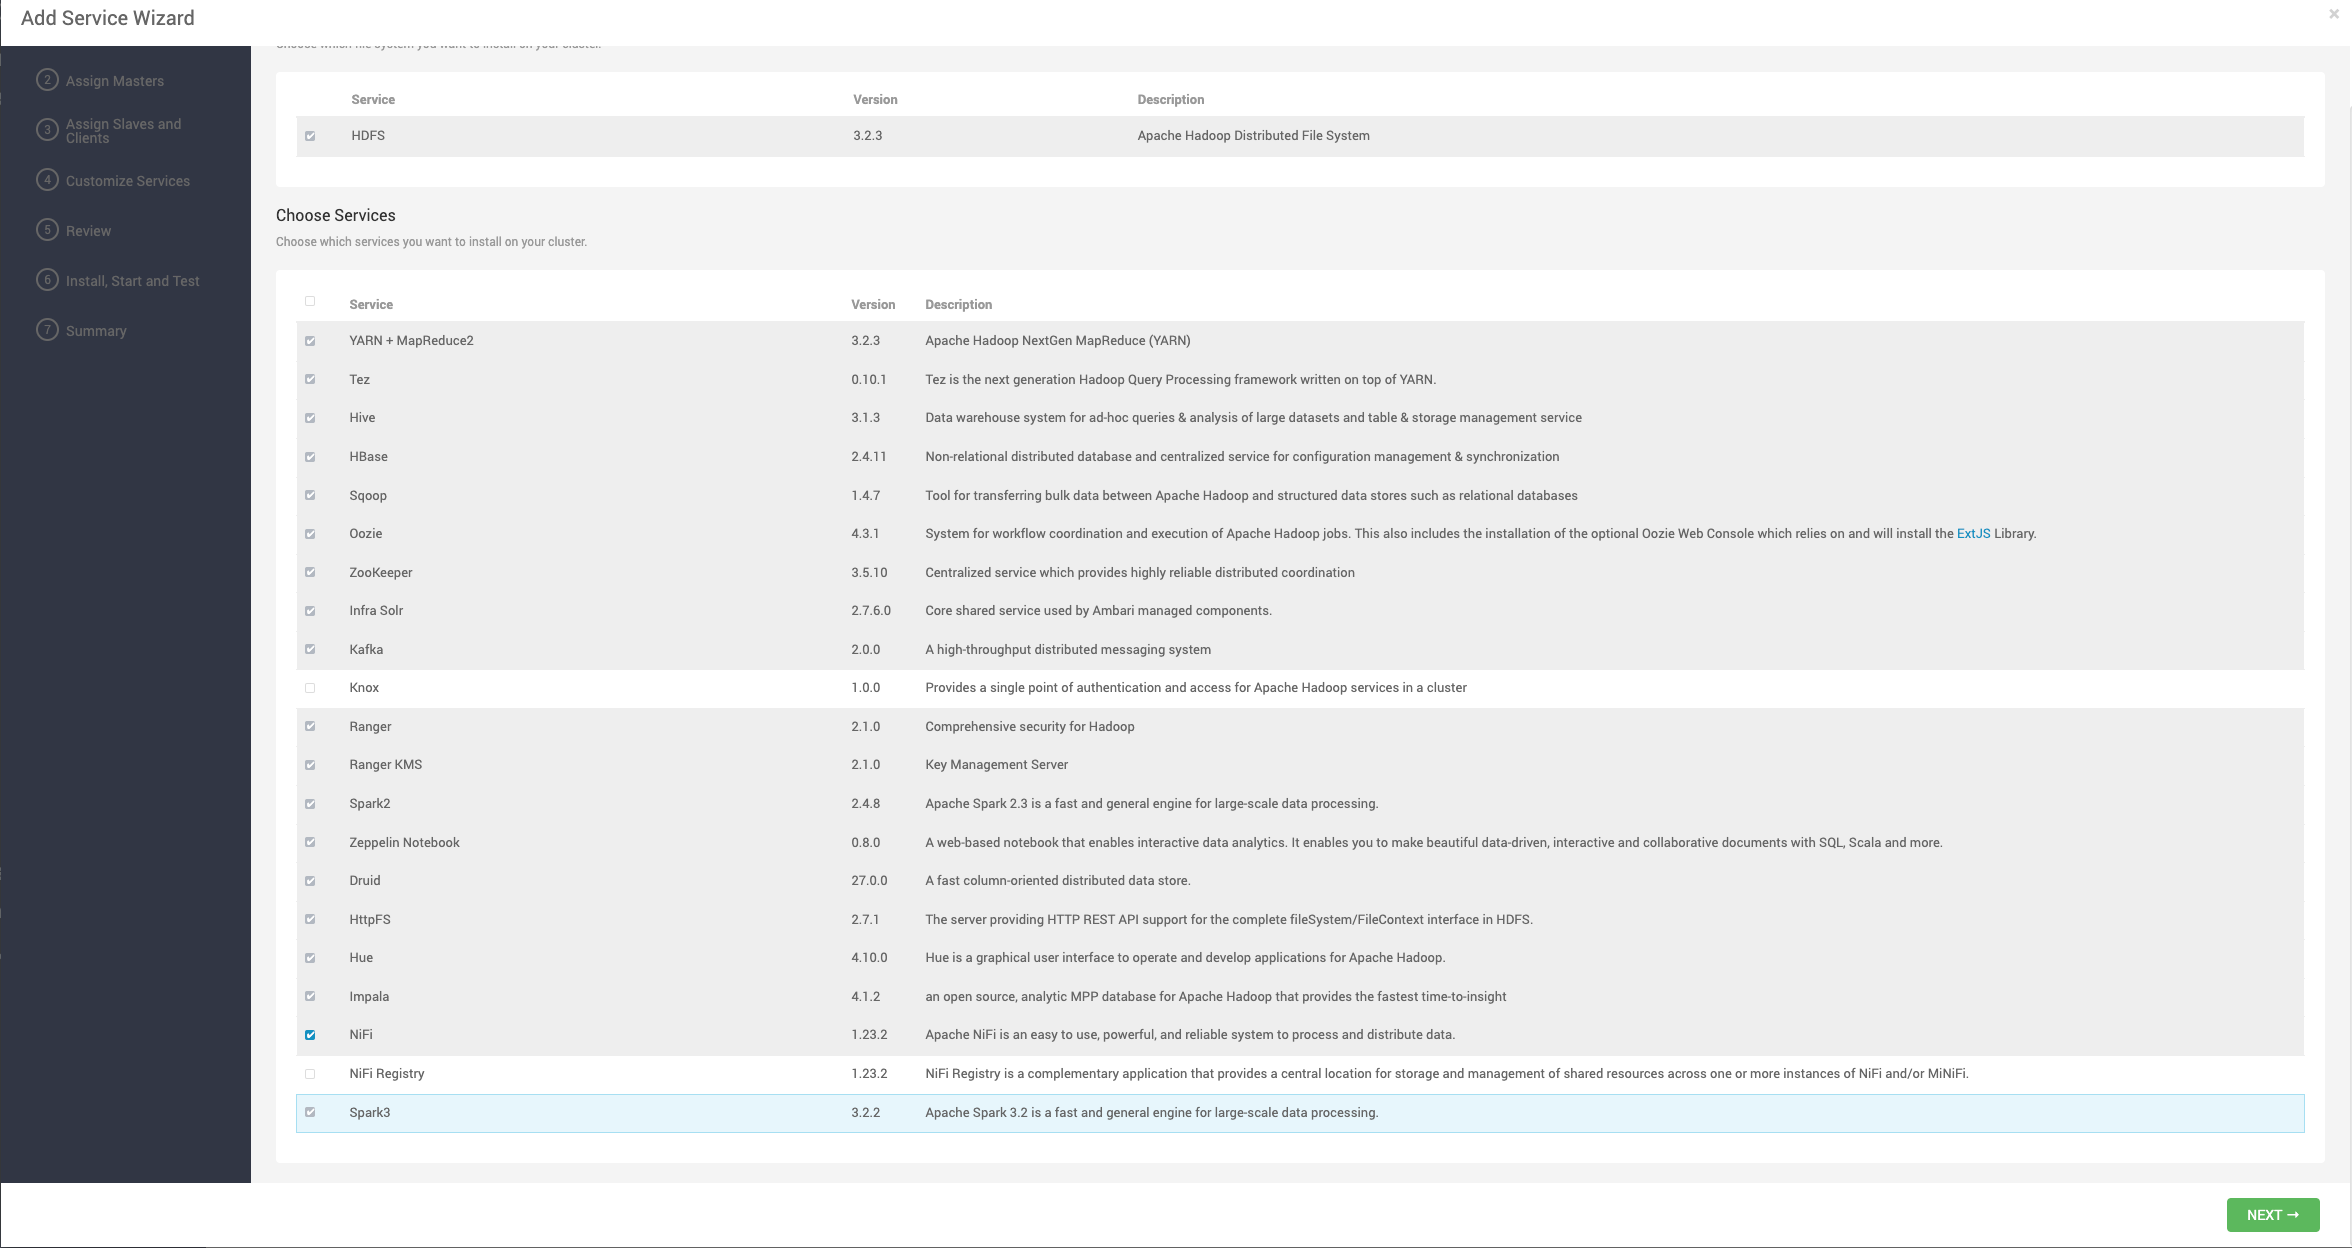
- Configure the service for a seamless installation and startup.
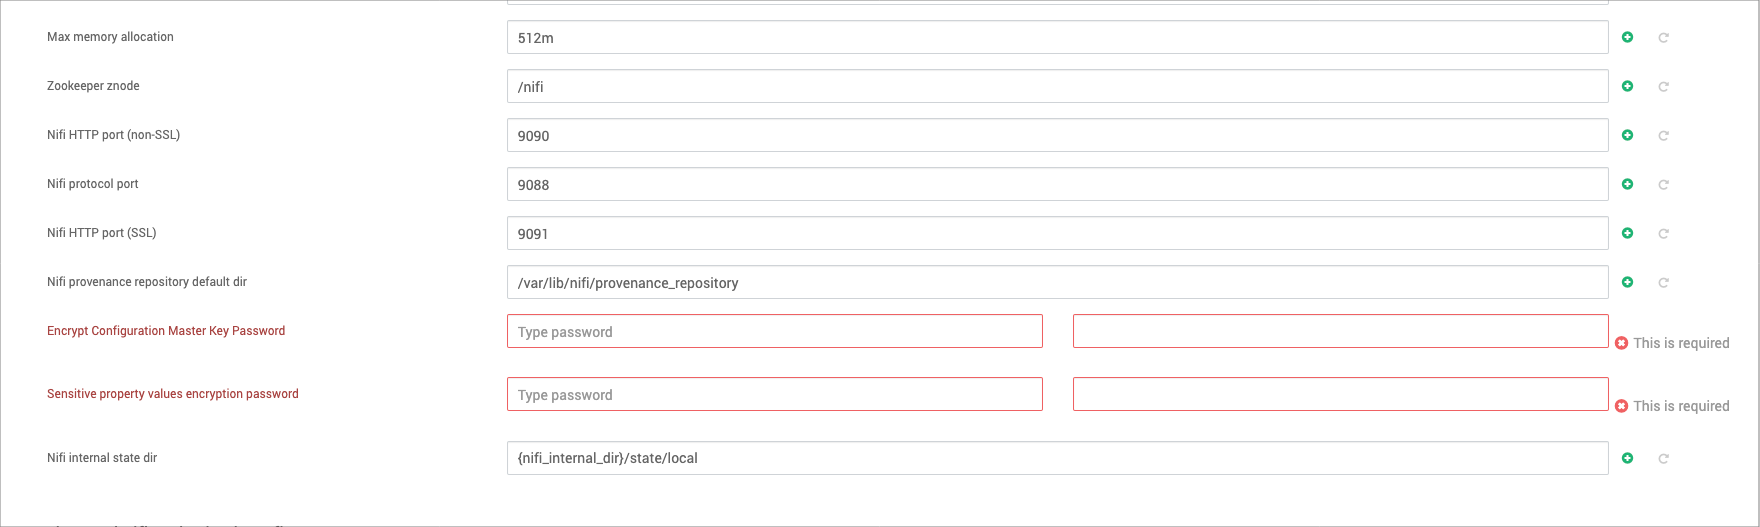
- Set the master key password.
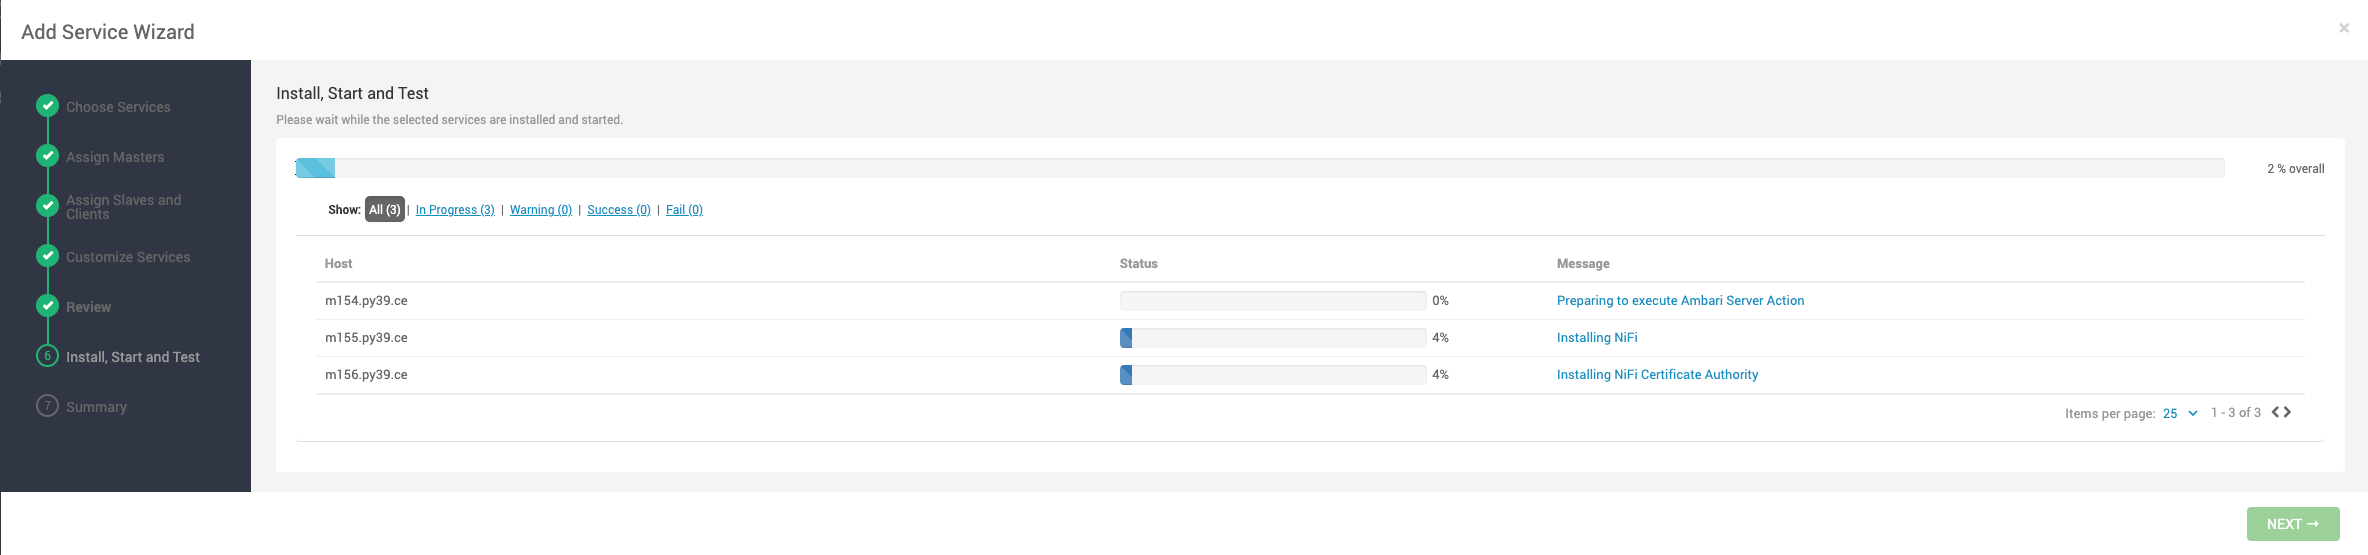
- Proceed with the installation after configuring.
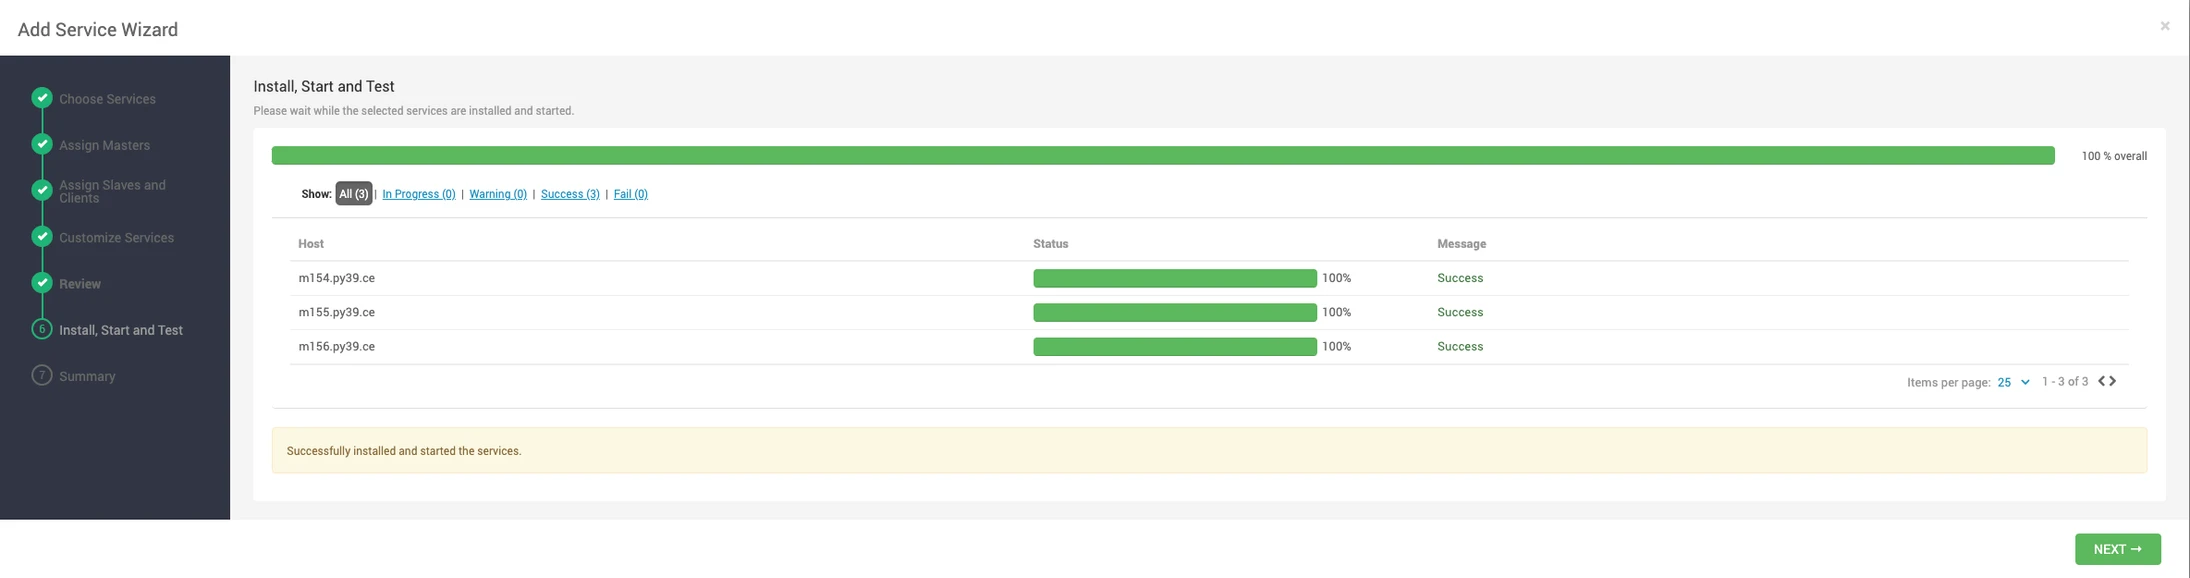
- Verify Individual Component Installation.
- Confirm Overall Progress Completion ensuring that all components are successfully installed.
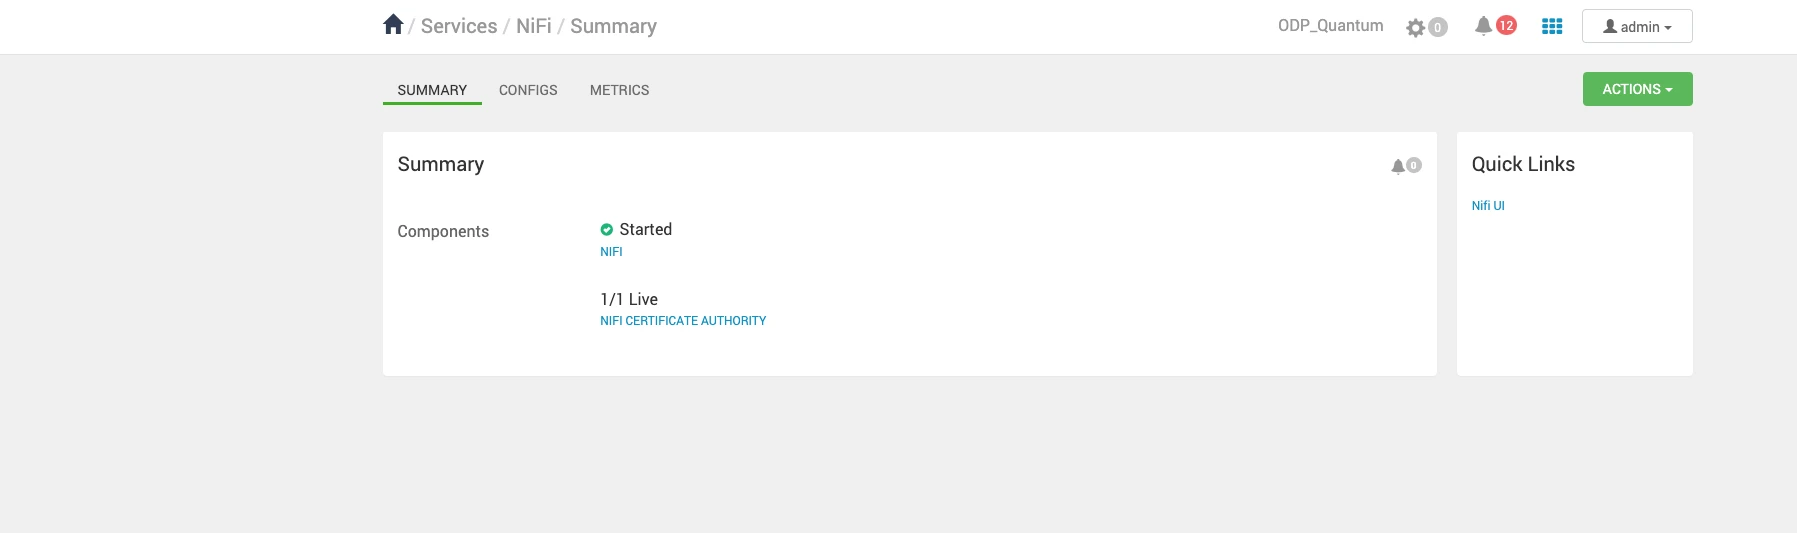
- Navigate to the Summary page to review the components installed.
Info
For encrypting the nifi.properties file in a Standalone Deployment, execute the command below within the NiFi-Toolkit directory:
./bin/encrypt-config.sh -v -b <nifi_config_dir>/bootstrap.conf -n <nifi_config_dir>/nifi.properties
Additional options can be found in the Apache NiFi Toolkit Guide.
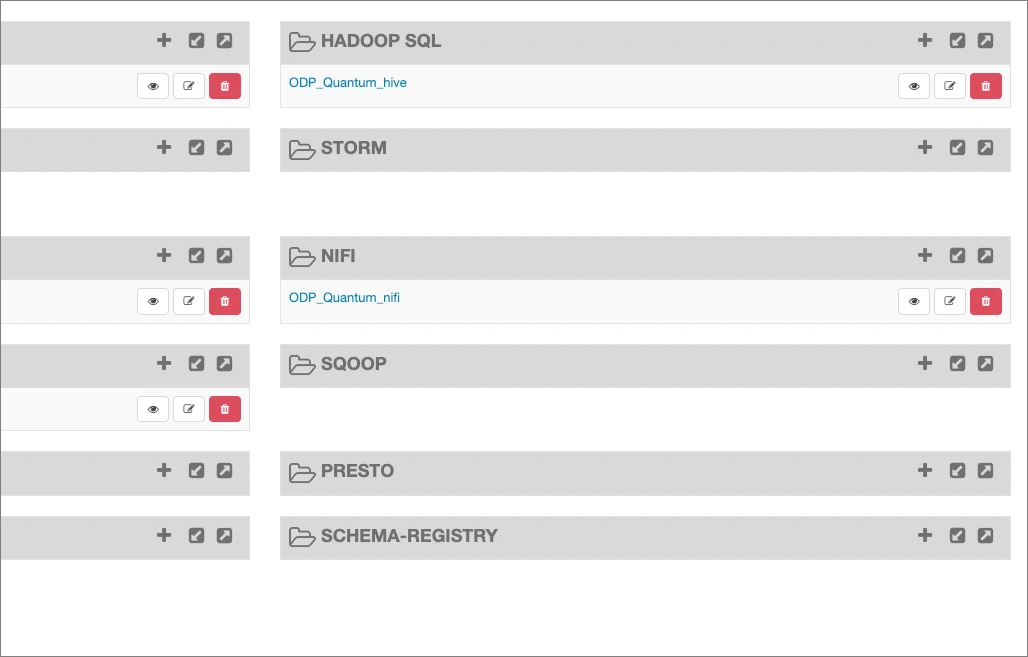
- Verify the creation of the NiFi ranger policy in the Ranger-UI post-installation: Once installation concludes, check the Ranger-UI to ensure that the NiFi ranger policy has been successfully established, which is crucial for managing access control.
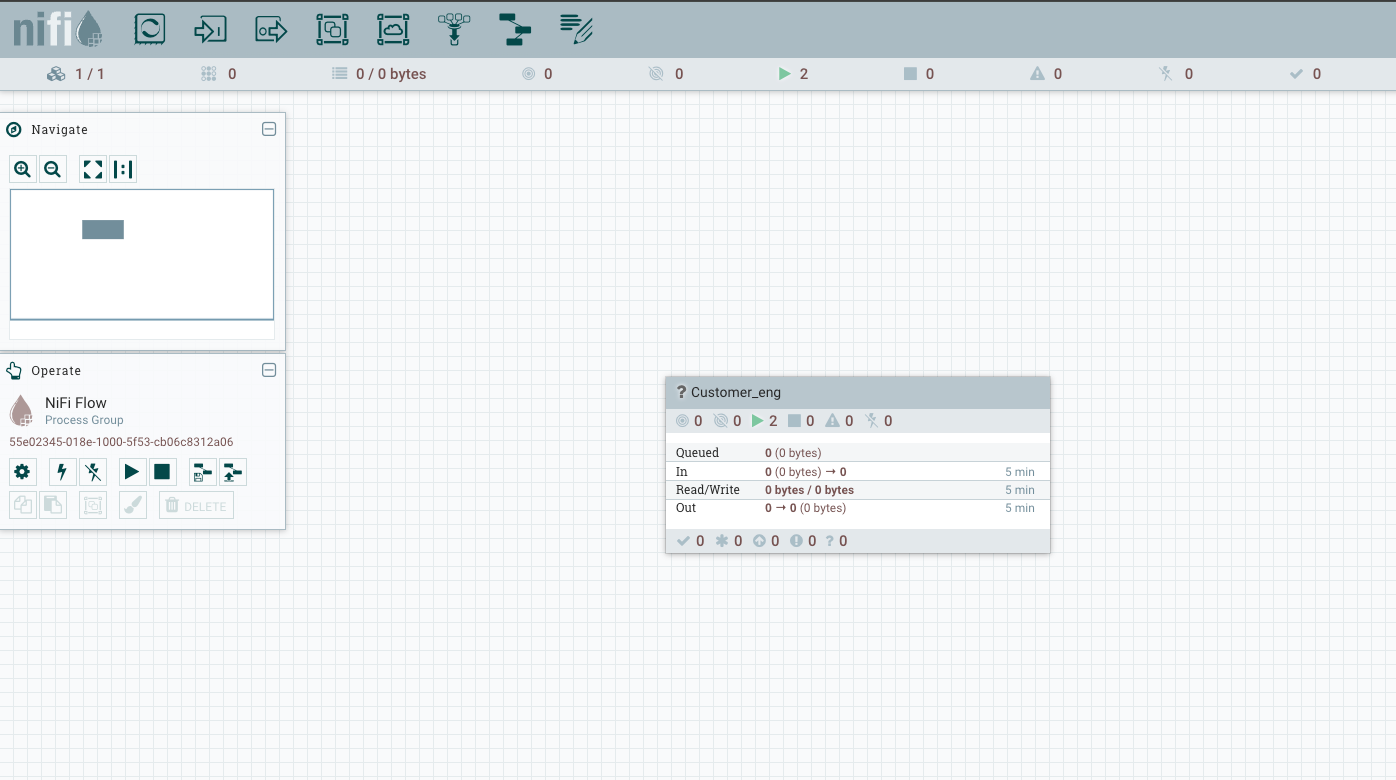
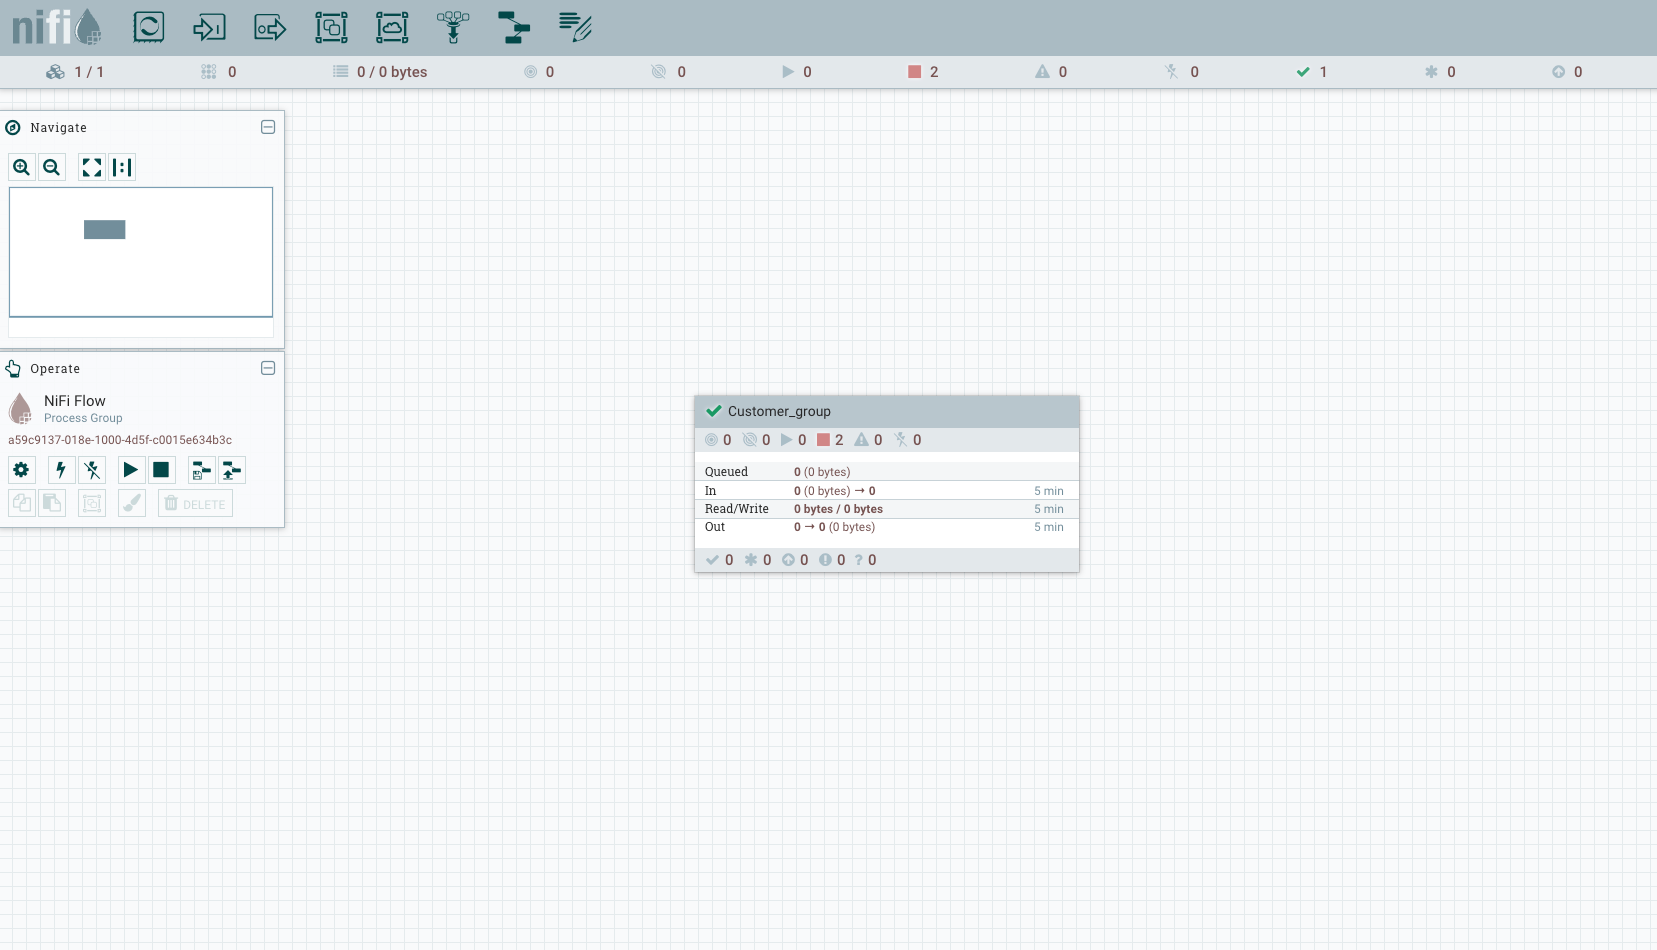
- Access the NiFi UI via quick links in the Ambari UI.
Enabling SSL in NiFi
To enable SSL in NiFi, perform the following steps:
- Navigate to NiFi configurations in Ambari and check the Enable SSL? checkbox.
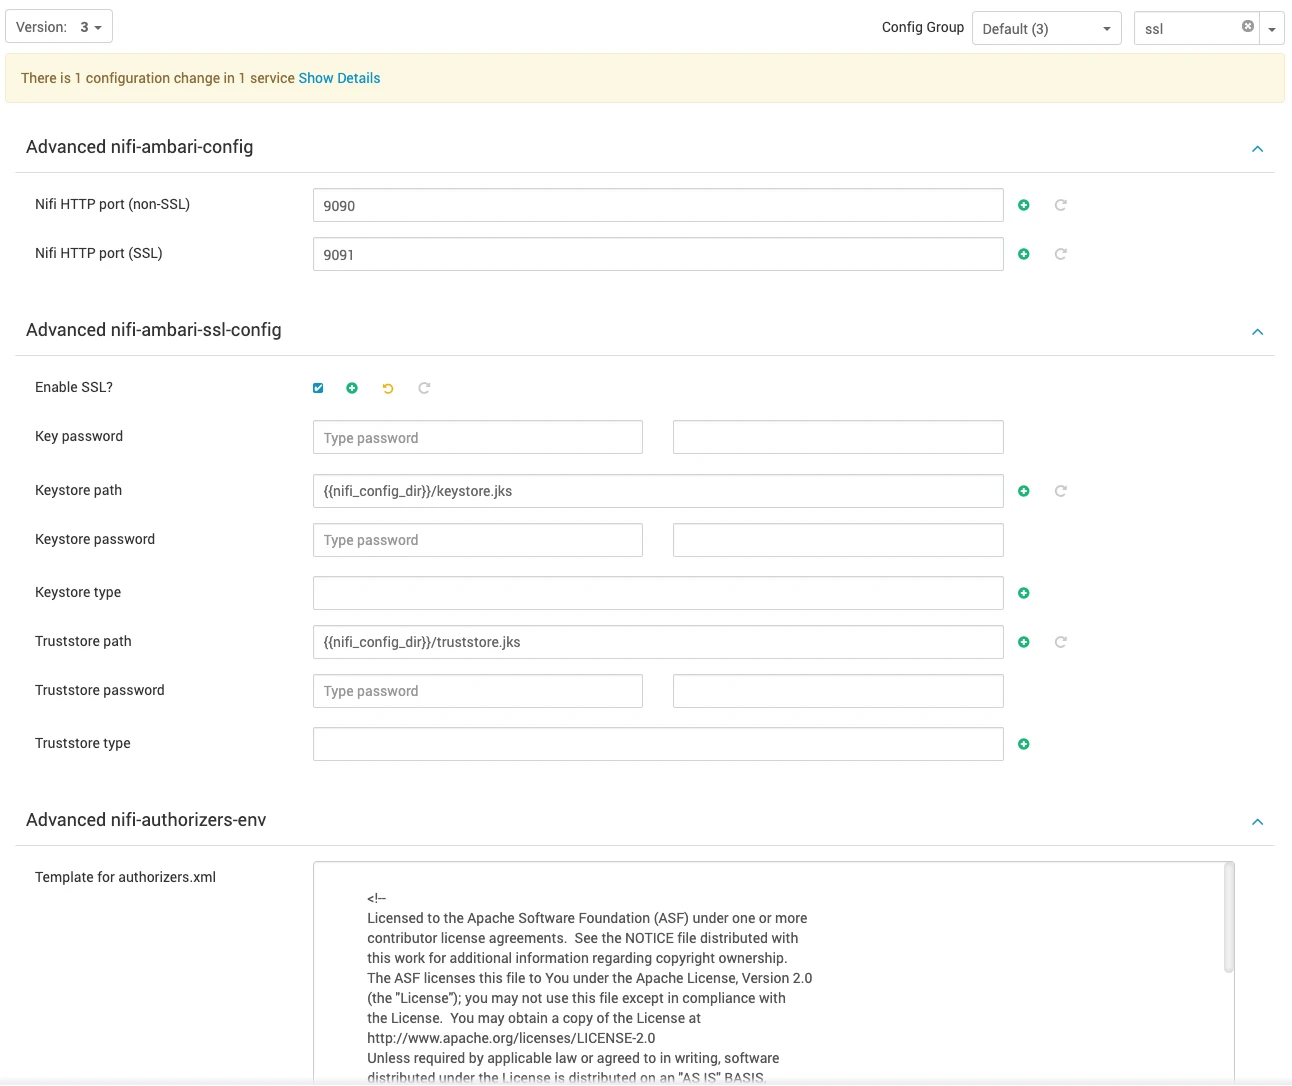
- In the configuration settings, fill in the following details:
- Key Password
- Keystore Password
- Keystore Type
- Truststore Password
- Truststore Type
- NiFi CA Token (create a password that is between 12-16 characters in length).
Info
To operate Nifi in a Standalone and Secure environment using a Self-signed certificate, it's essential to incorporate the following properties into the nifi.properties file:
- Key Password.
- Keystore Password.
- Keystore Type.
- Truststore Password.
- Truststore Type.
Subsequently, execute the encryption command with nifi-toolkit to secure all passwords:
./bin/encrypt-config.sh -v -b <nifi_config_dir>/bootstrap.conf -n <nifi_config_dir>/nifi.properties
This step ensures the encryption of all passwords for enhanced security.
Info
Apache NiFi includes a toolkit comprising various command-line utilities tailored for system management. Among these utilities is the TLS Toolkit, designed to act as a self-signed Certificate Authority (CA), enabling the straightforward issuance and signing of certificates in the format NiFi requires.
To generate a signed certificate for localhost in standalone mode, use the following command:
./bin/tls-toolkit.sh standalone -n "localhost"
For additional information, refer to the Apache NiFi Walkthroughs.
- Save configurations and restart the NiFi service to apply the new SSL configurations.
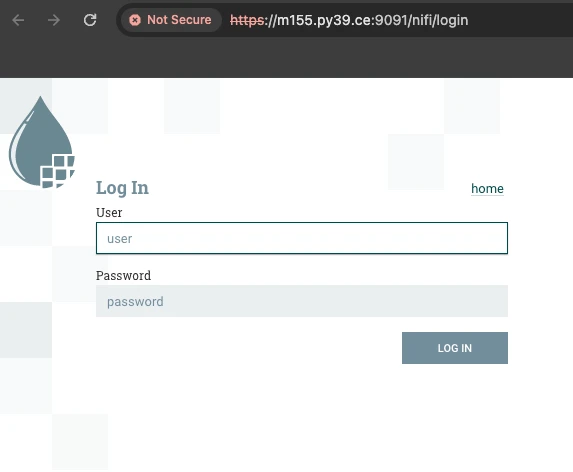
- Post restart, NiFi should be accessible on port 9091. This port is designated for HTTPS (SSL) requests and you should now be prompted with a user login page upon accessing NiFi.
Configuring Single-User Authentication for NiFi SSL
For standalone deployments using a single-user provider for authentication, perform the following:
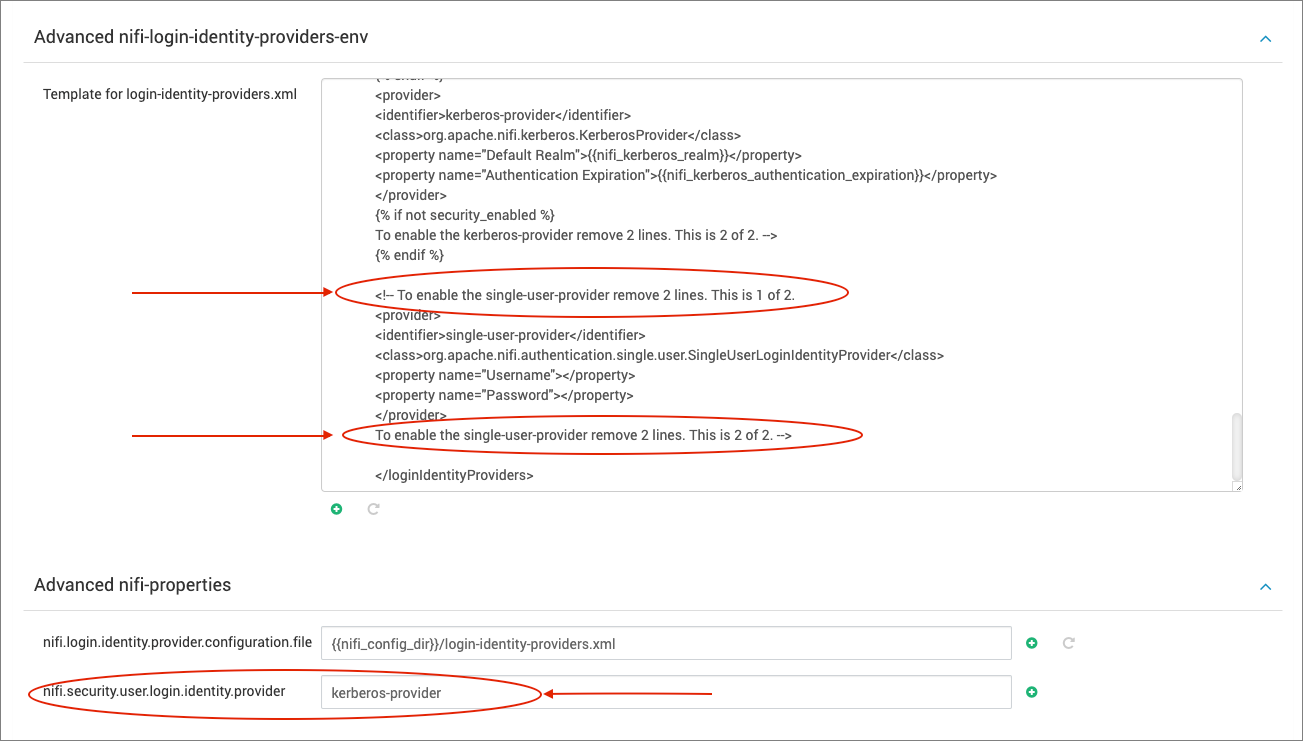
- Navigate to the Advanced nifi-login-identity-providers-env section in the NiFi configurations on Ambari.
- Uncomment the following lines and change nifi.security.user.login.identity.provider from kerberos-provider to single-user-provider.
- Save your updated configurations and restart the NiFi service.
- SSH into the NiFi mode and run the following command to set a username and password:
./bin/nifi.sh set-single-user-credentials <username> <password>
Output:
Java home: /usr/lib/jvm/java-1.8.0-openjdk
NiFi home: /usr/odp/current/nifi
Bootstrap Config File: /usr/odp/current/nifi/conf/bootstrap.conf
Login Identity Providers Processed [/usr/odp/current/nifi/conf/login-identity-providers.xml]
Info
To enable Authentication in Standalone mode, the following property must be modified in the nifi.properties file:
nifi.security.user.login.identity.provider
NiFi supports three types of login providers:
- single-user-provider
- kerberos-provider
- ldap-provider
For comprehensive details, please refer to the NiFi System Administrator’s Guide.
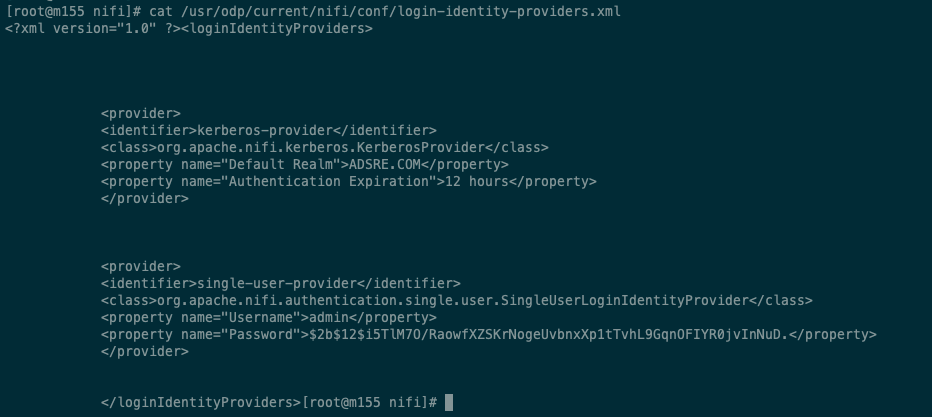
- Confirm that the single user password is created, encrypted, and stored in the login-identity-providers.xml file.
- Use these credentials for authentication in the NiFi user interface.