NiFi-Registry
NiFi Registry
Apache NiFi Registry serves as a complementary component to Apache NiFi, offering versioning, history tracking, and a central repository for reusable components like NiFi flows, custom processors, controller services, and beyond. It functions as a centralized hub for the management, versioning, and sharing of NiFi components across various NiFi instances.
Key Functions and Use Cases of NiFi Registry
- Flow Versioning and History: NiFi Registry allows you to version control flows, templates, and other components, enabling you to track changes, revert to previous versions, and collaborate effectively in a team environment.
- Component Reusability: Facilitating component reuse across numerous NiFi instances, it establishes a central repository where templates and custom processors can be developed, published, and shared within the organization.
- Deployment Management: It assists in overseeing the deployment of flows and components across various environments (development, testing, production) by ensuring uniform versions and configurations are maintained.
- Collaboration and Governance: Facilitates team collaboration on data flows by offering a centralized platform for sharing, reviewing, and approving changes, while also assisting in enforcing governance policies related to data flows and components.
- Backup and Disaster Recovery: NiFi Registry facilitates backups and prepares for disaster recovery scenarios by storing versioned configurations and history, mitigating the risk of losing critical workflows or configurations.
- Integration with Continuous Integration/Continuous Deployment (CI/CD): Facilitates the integration of NiFi flows and components into CI/CD pipelines, enabling automated testing, validation, and deployment of data flows.
Components in NiFi Registry
- Bucket: A logical container that stores different versions of flows, templates, and other NiFi components.
- Versioned Flows: Represents the different versions of a flow or a set of NiFi components that are stored within a bucket.
- Access Control: Provides fine-grained access control and permissions to manage who can view, create, modify, or delete components within a bucket.
NiFi Registry strengthens collaboration, reusability, and governance of data flows and components across diverse environments, positioning it as a valuable asset in enterprise data management and workflow orchestration.
Installing NiFi Registry
Prerequisites
Before proceeding with NiFi Registry installation, ensure the following prerequisites are met:
- Install MySQL 8.
- Create a dedicated database for NiFi Registry.
- Establish a user with full privileges for the NiFi Registry database.
- Install the NiFi Registry Mpack on the Ambari Node and restart Ambari.
Installation
- Add Nifi-Registry service from the Ambari user interface.
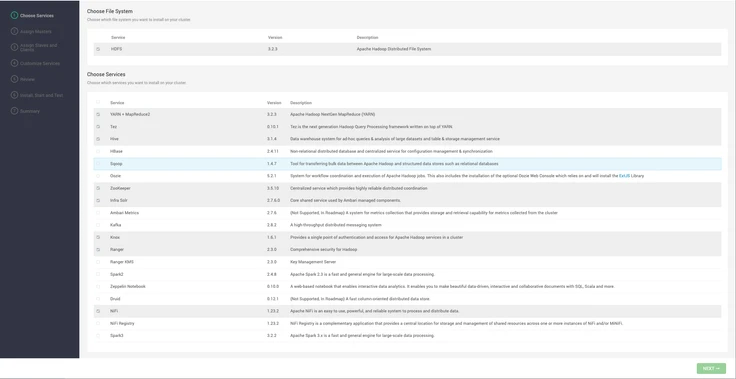
- The following configurations must be added to ensure a smooth installation and startup of the service.
- Add the master key password.
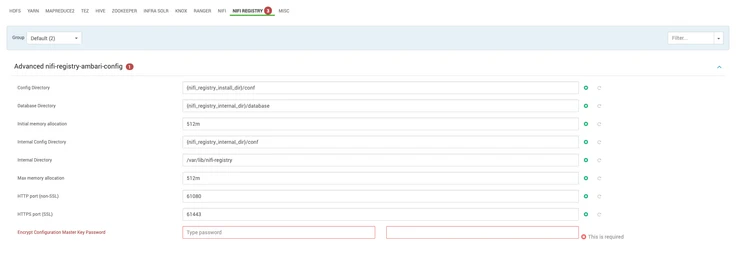
- Add the Mysql Connector patch present in the machine.
nifi.registry.db.driver.directory=<path/to/connector>/mysql-connector-java.jar
- Add the NiFi-Registry database password.
nifi.registry.db.password=**********
- Add the NiFi-Registry URL.
nifi.registry.db.url=jdbc:mysql://<hostname>:3306/nifi_registry
Here database for registry is - “nifi_registry“; change it according to the database you have created for storing the registry data.
- Add the NiFi-Registry database user.
nifi.registry.db.username=nifireg
Here the user is nifireg; change it according to the user you have created for accessing the nifi-registry database.
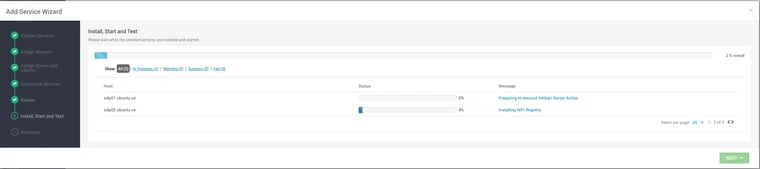
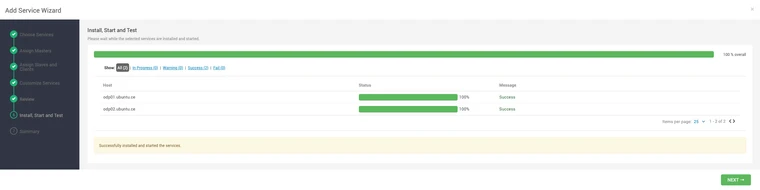
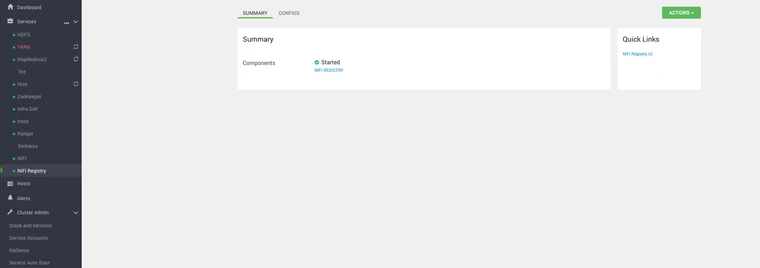
- After providing all the configurations, then proceed with the installation procedure.
Ranger Enablement
- To enable Ranger for NiFi-Registry, navigate to nifi-registry configs and enable the Ranger plugin.
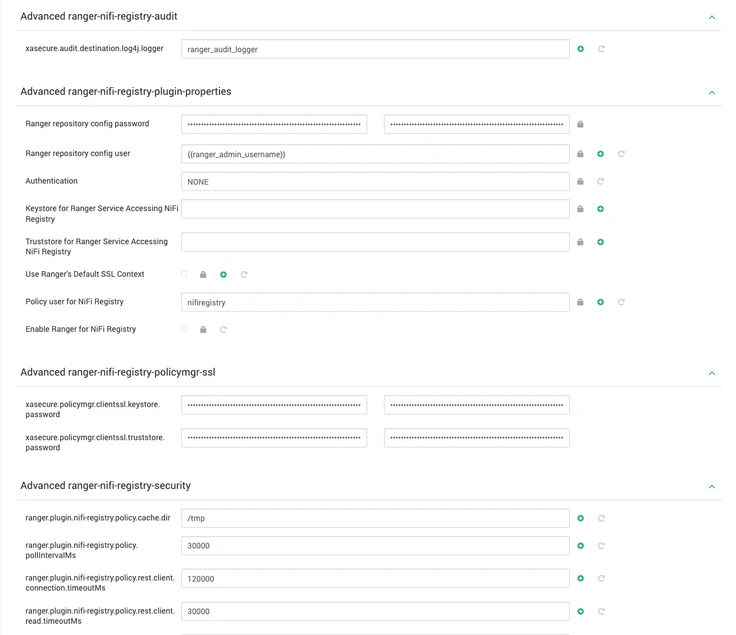
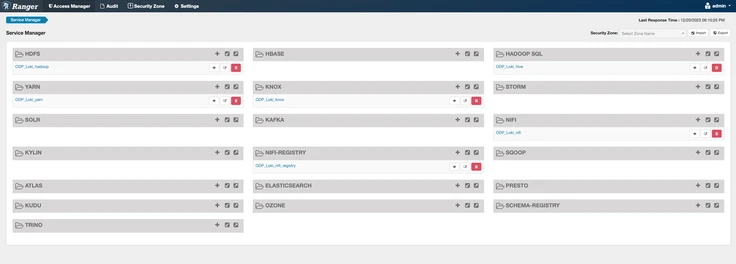
- Once the above is enabled , restart the Nifi-Registry Service. Once again, restart and login to the Ranger UI , where you are able to see the nifi-registry policy creation field.
Connecting Nifi to Nifi-Registry
- From the Ambari UI, quick links navigate you to the Nifi-Registry UI.
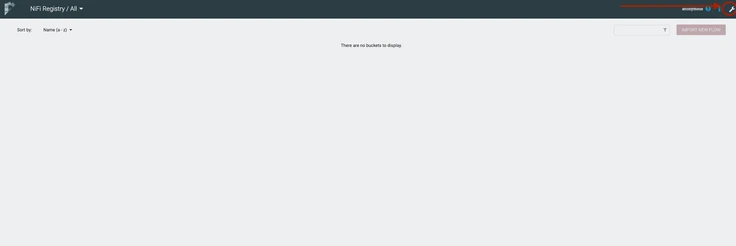
- To connect Nifi-Registry to Nifi, click on the wrench icon from the top right corner.
- Add a new bucket.

- Navigate to Nifi and select Controller settings.
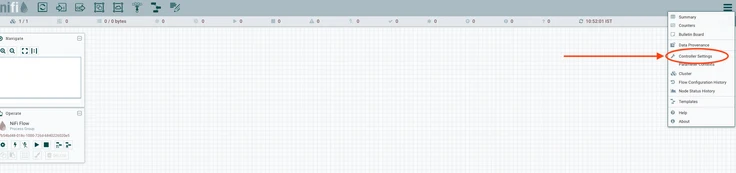
- In Controller Settings, navigate to Registry Clients and click the plus button.

- Provide a name for the Registry Client and click the add button.
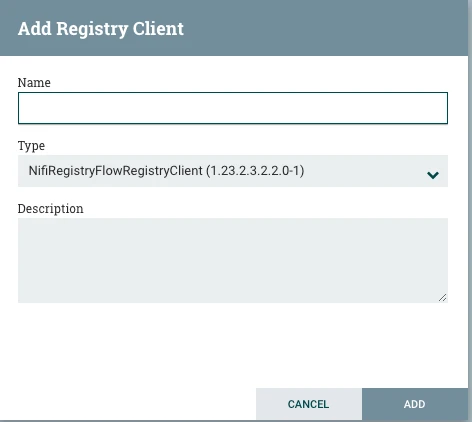
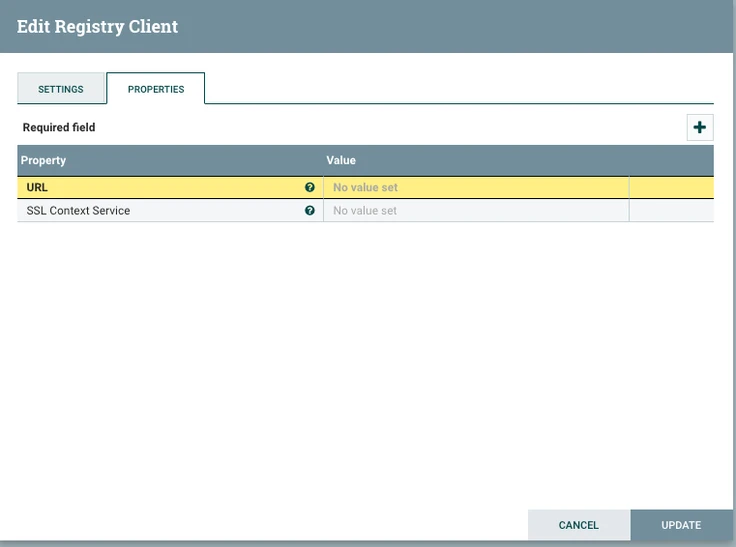
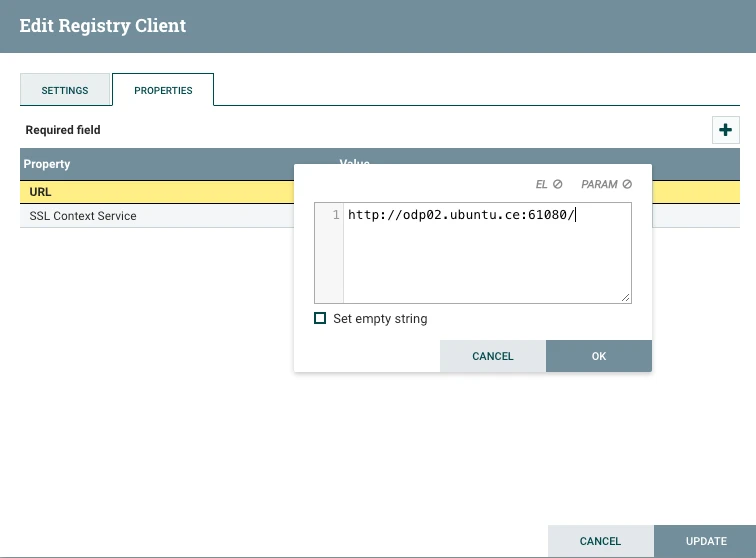
- Edit the newly added registry client.

- Navigate to the Properties tab and add the nifi-registry URL in the URL section.
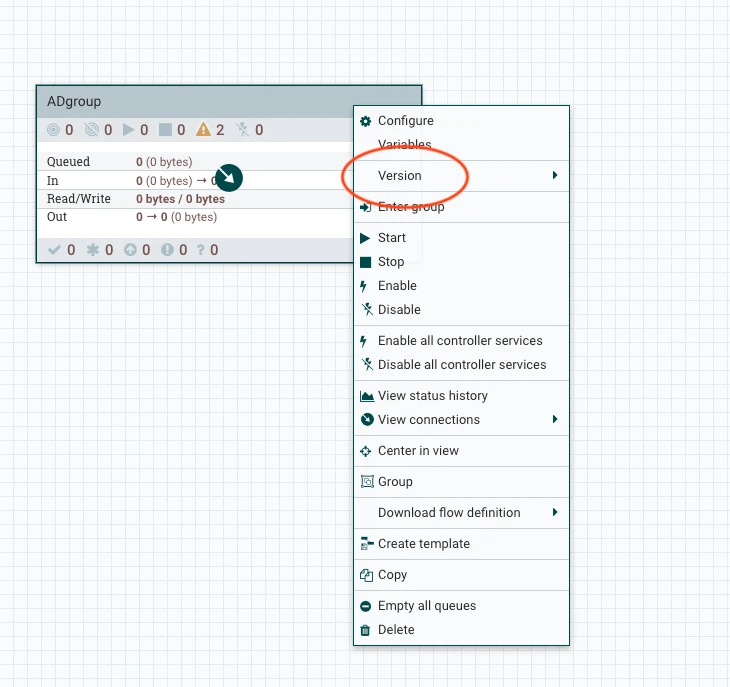
- In Nifi, enable versioning of a process group by right clicking on the process group, selecting Version and then starting a new version control.
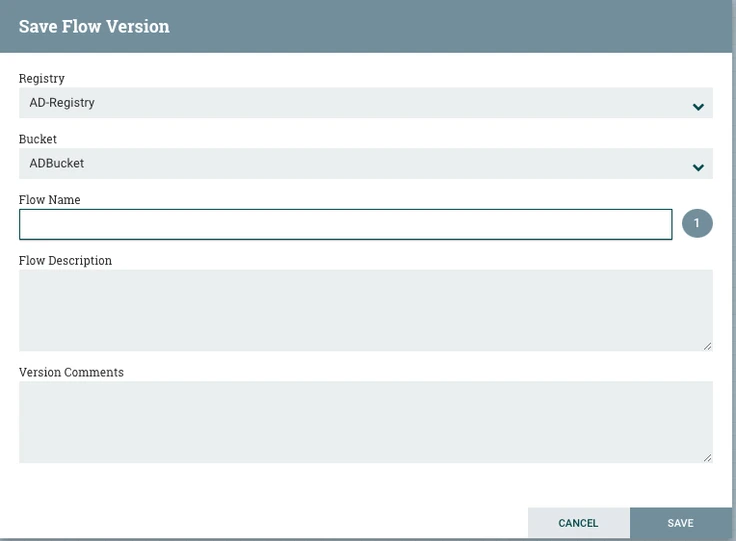
- Enter a Flow Name and save the version control.
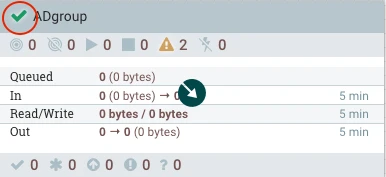
- Version controlling is now enabled for NiFi workflow and you must see a tick mark on the top left of the process group with the version control enabled.