
Spark RAPIDS
This guide explains how to install, configure, and run Spark with the NVIDIA RAPIDS Accelerator on your cluster environment.
Prerequisites
- Ensure you have access to a cluster with GPU nodes and required permissions.
- Java, Hadoop, Spark, and Hive are already installed and accessible on your environment.
- CUDA libraries compatible with your RAPIDS version are installed.
Method A: Install RAPIDS Using Ambari Mpack
Spark RAPIDS is bundled with the Spark3 Ambari Mpack. Refer to the https://docs.acceldata.io/odp/odp-3.3.6.2-1/documentation/odp-working-with-ambari-management-packs#spark-3 documentation for installing the Spark3 Mpack. Once installed, refer to these steps:
- Open the Ambari UI, navigate to Menu -> Services.
- Click the ellipsis menu (⋯) in the top-right corner.
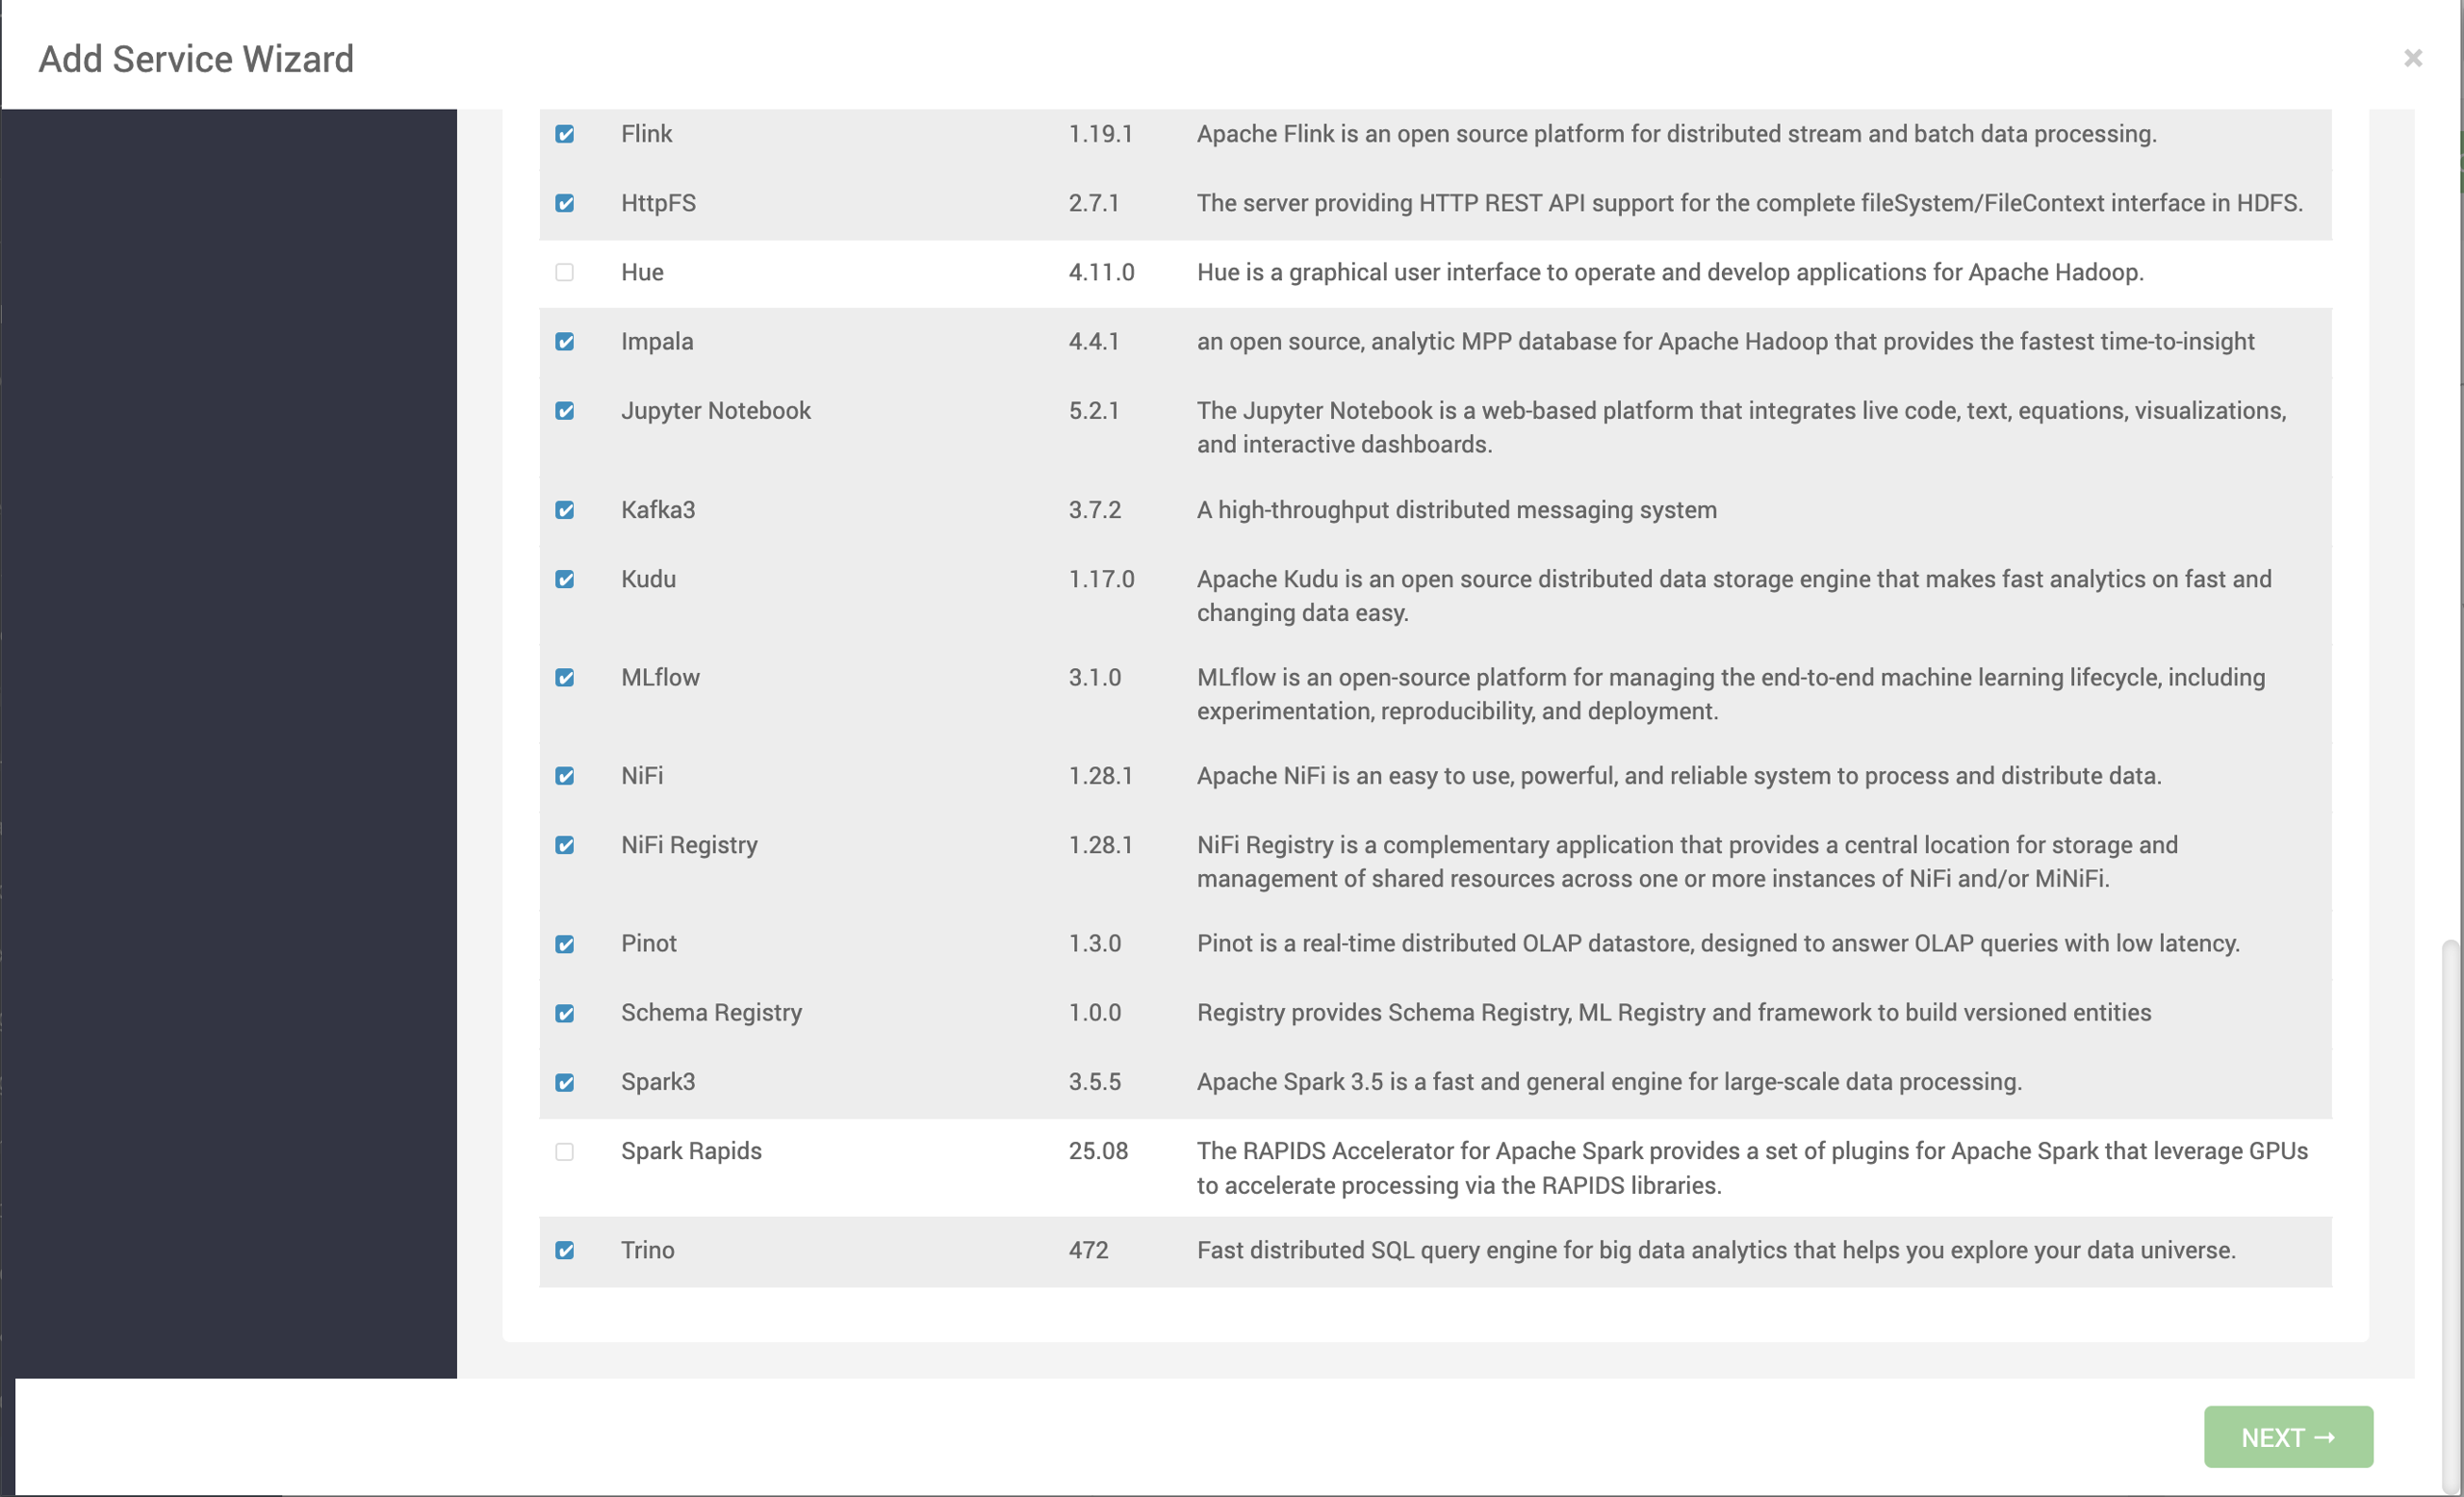
- Select Add Service. The list of services appears on the screen.
- Select Spark Rapids and click Next.
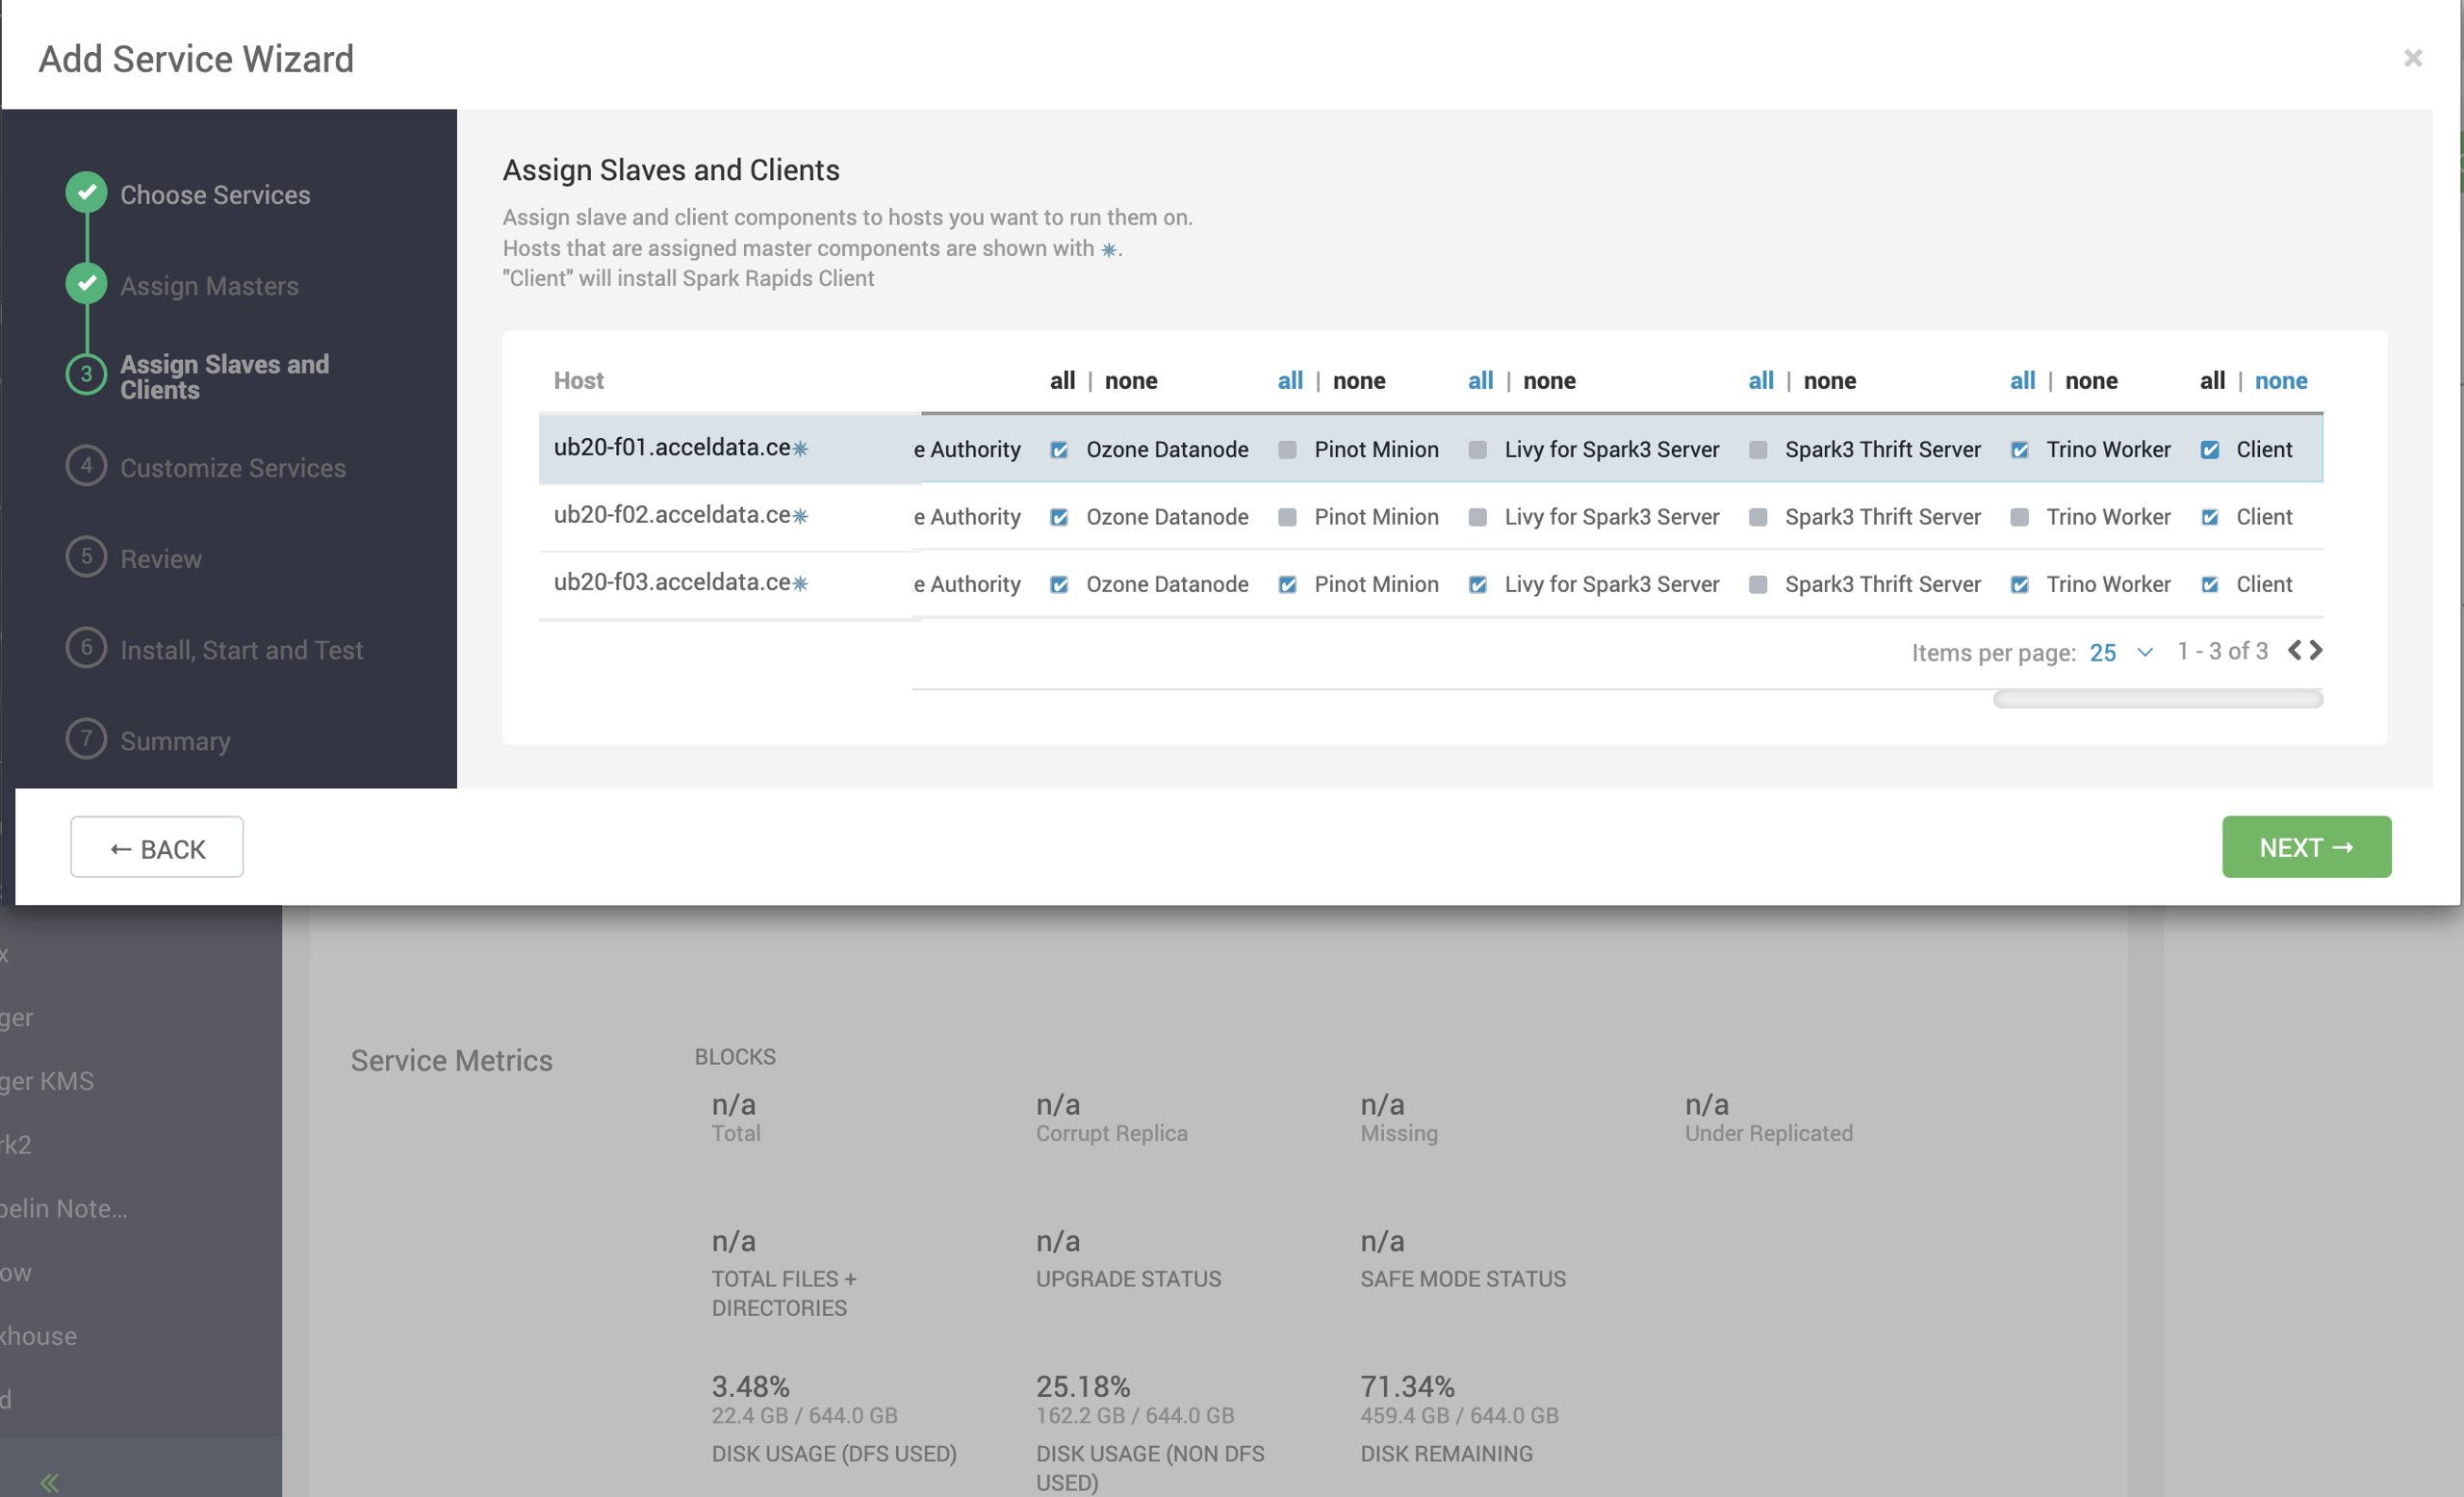
- On the Assign Slaves and Clients page, select nodes where you want to install the Spark Rapid Client and click Next.
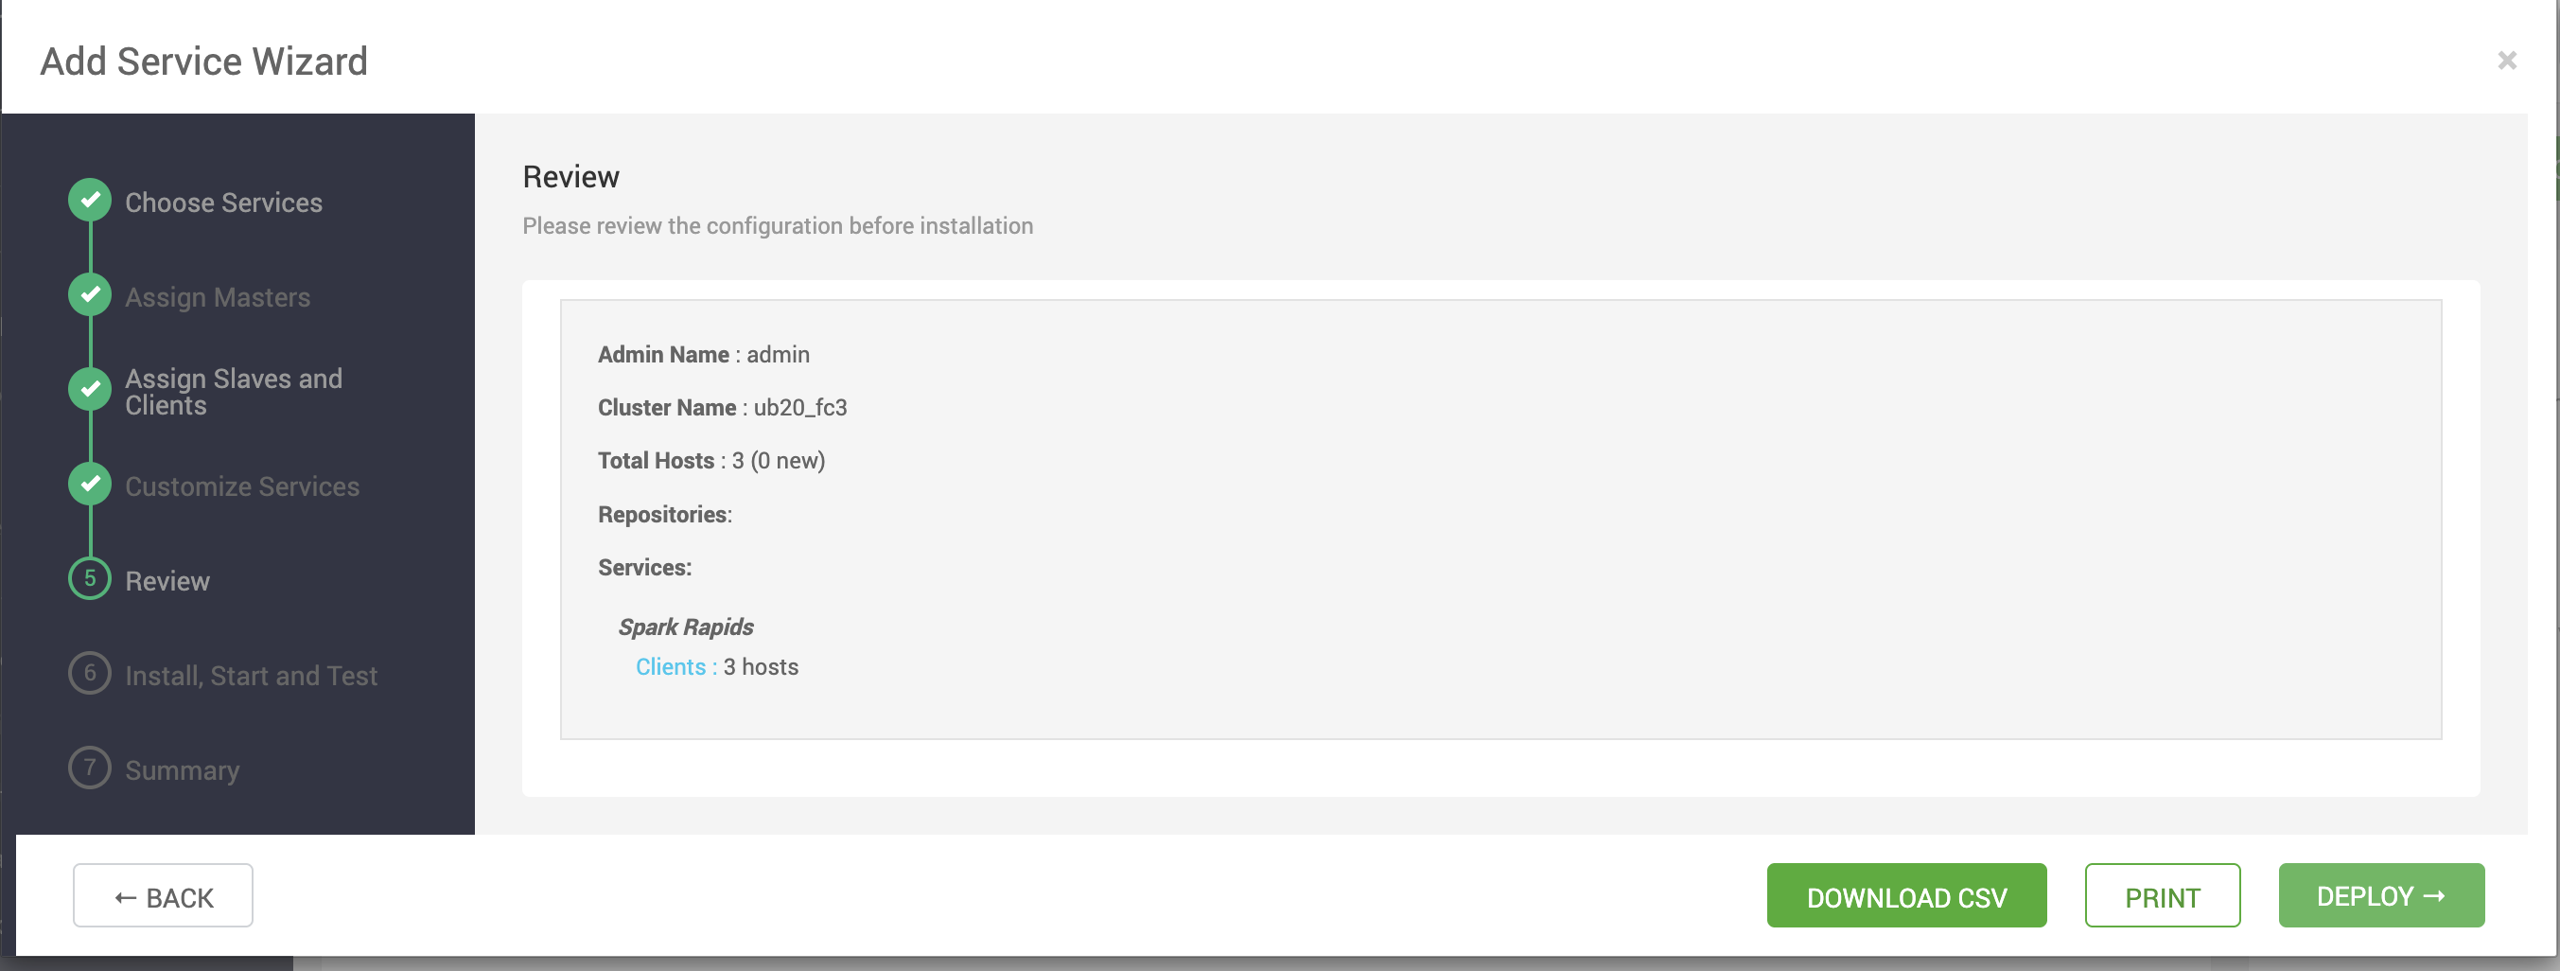
- Review the configuration and click Deploy.
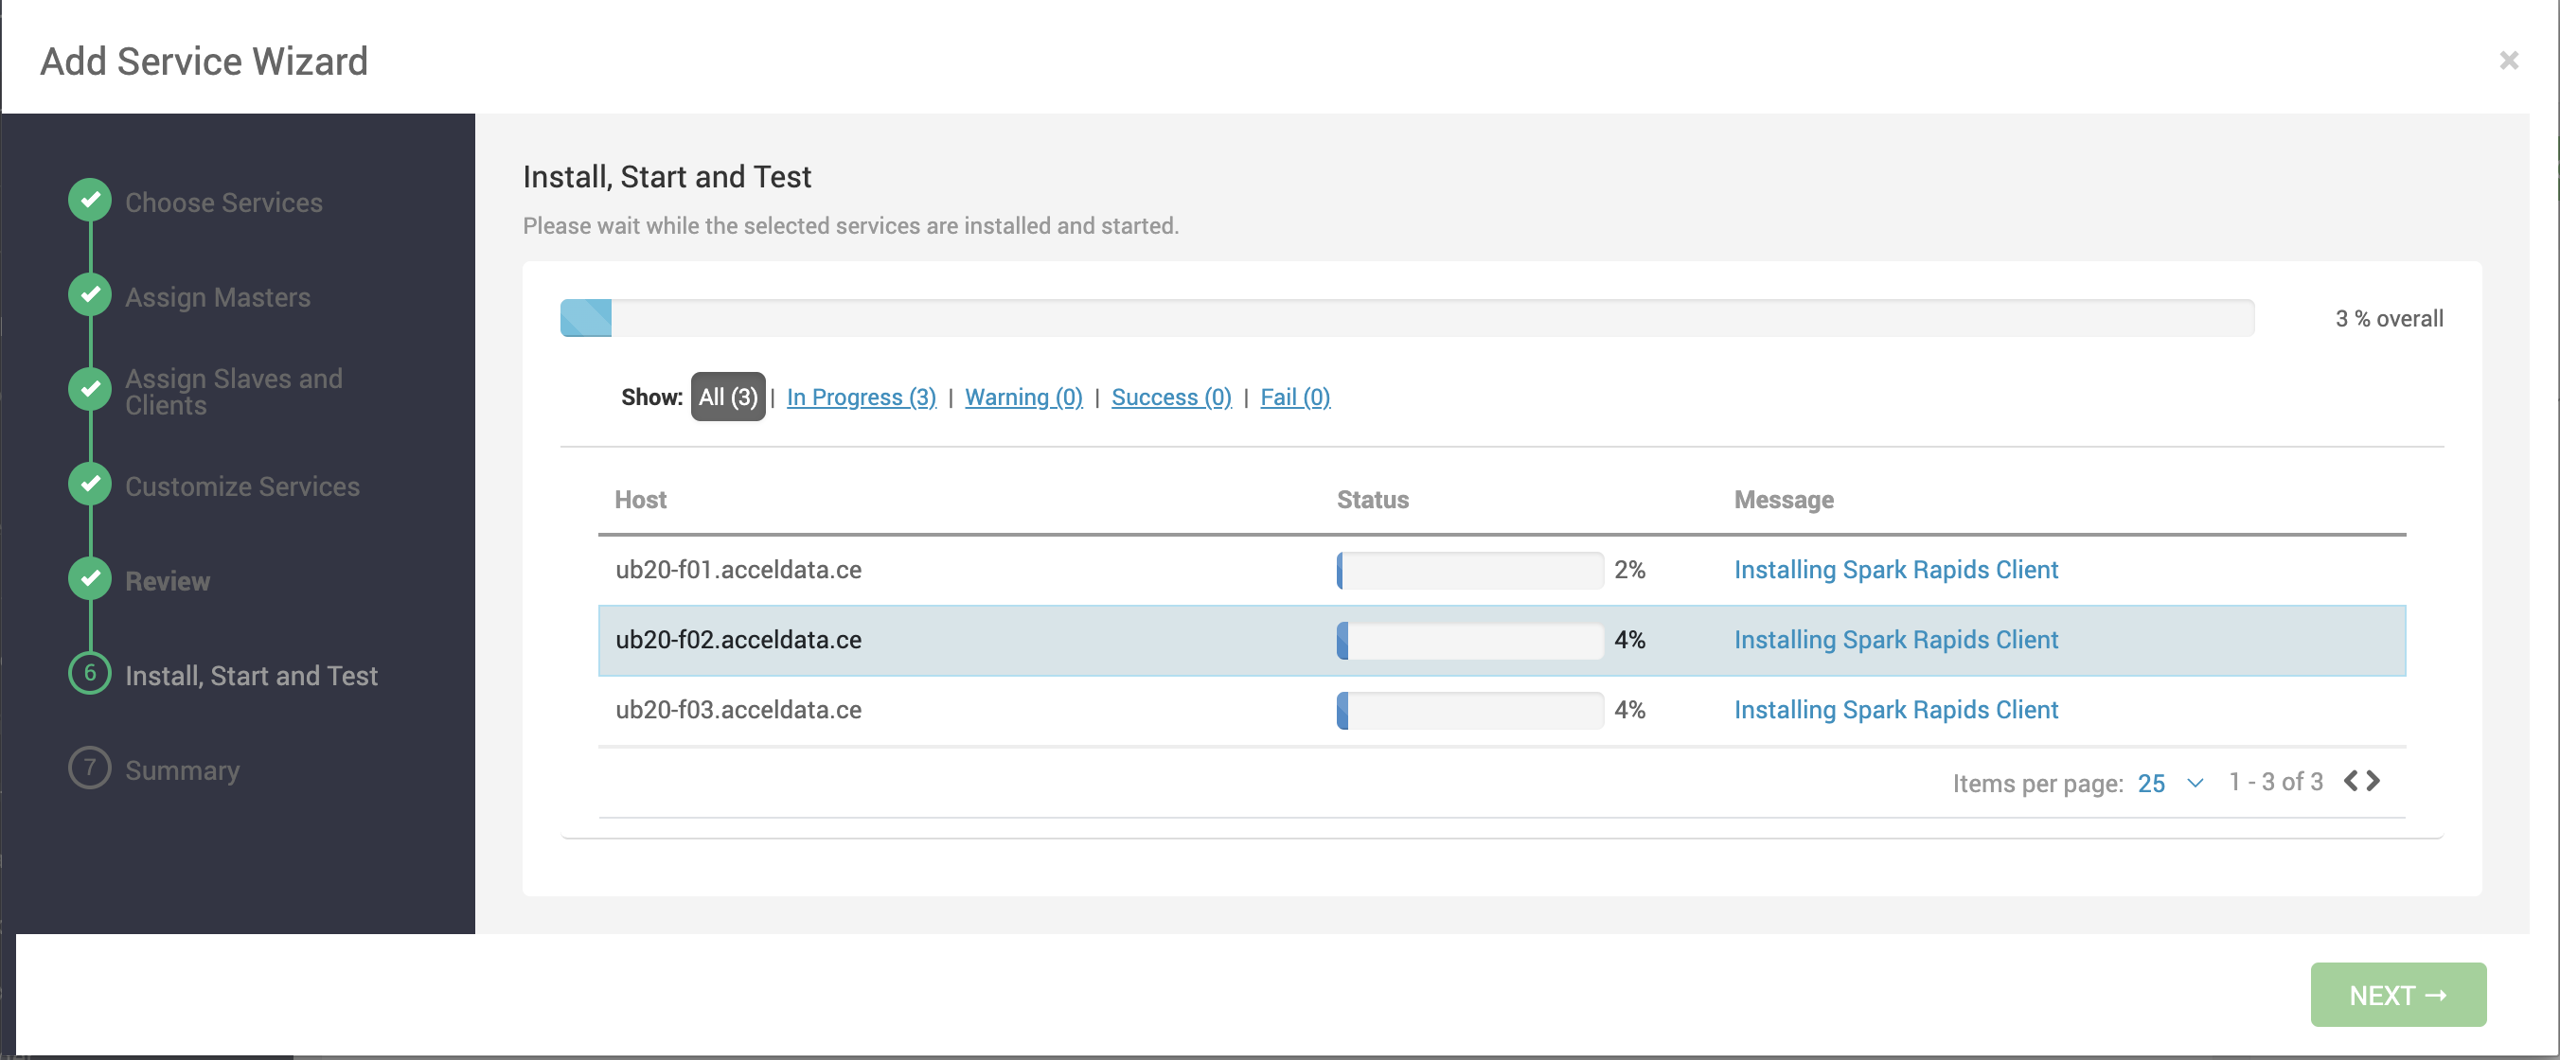
- After installation, the service MLflow gets added under Services.
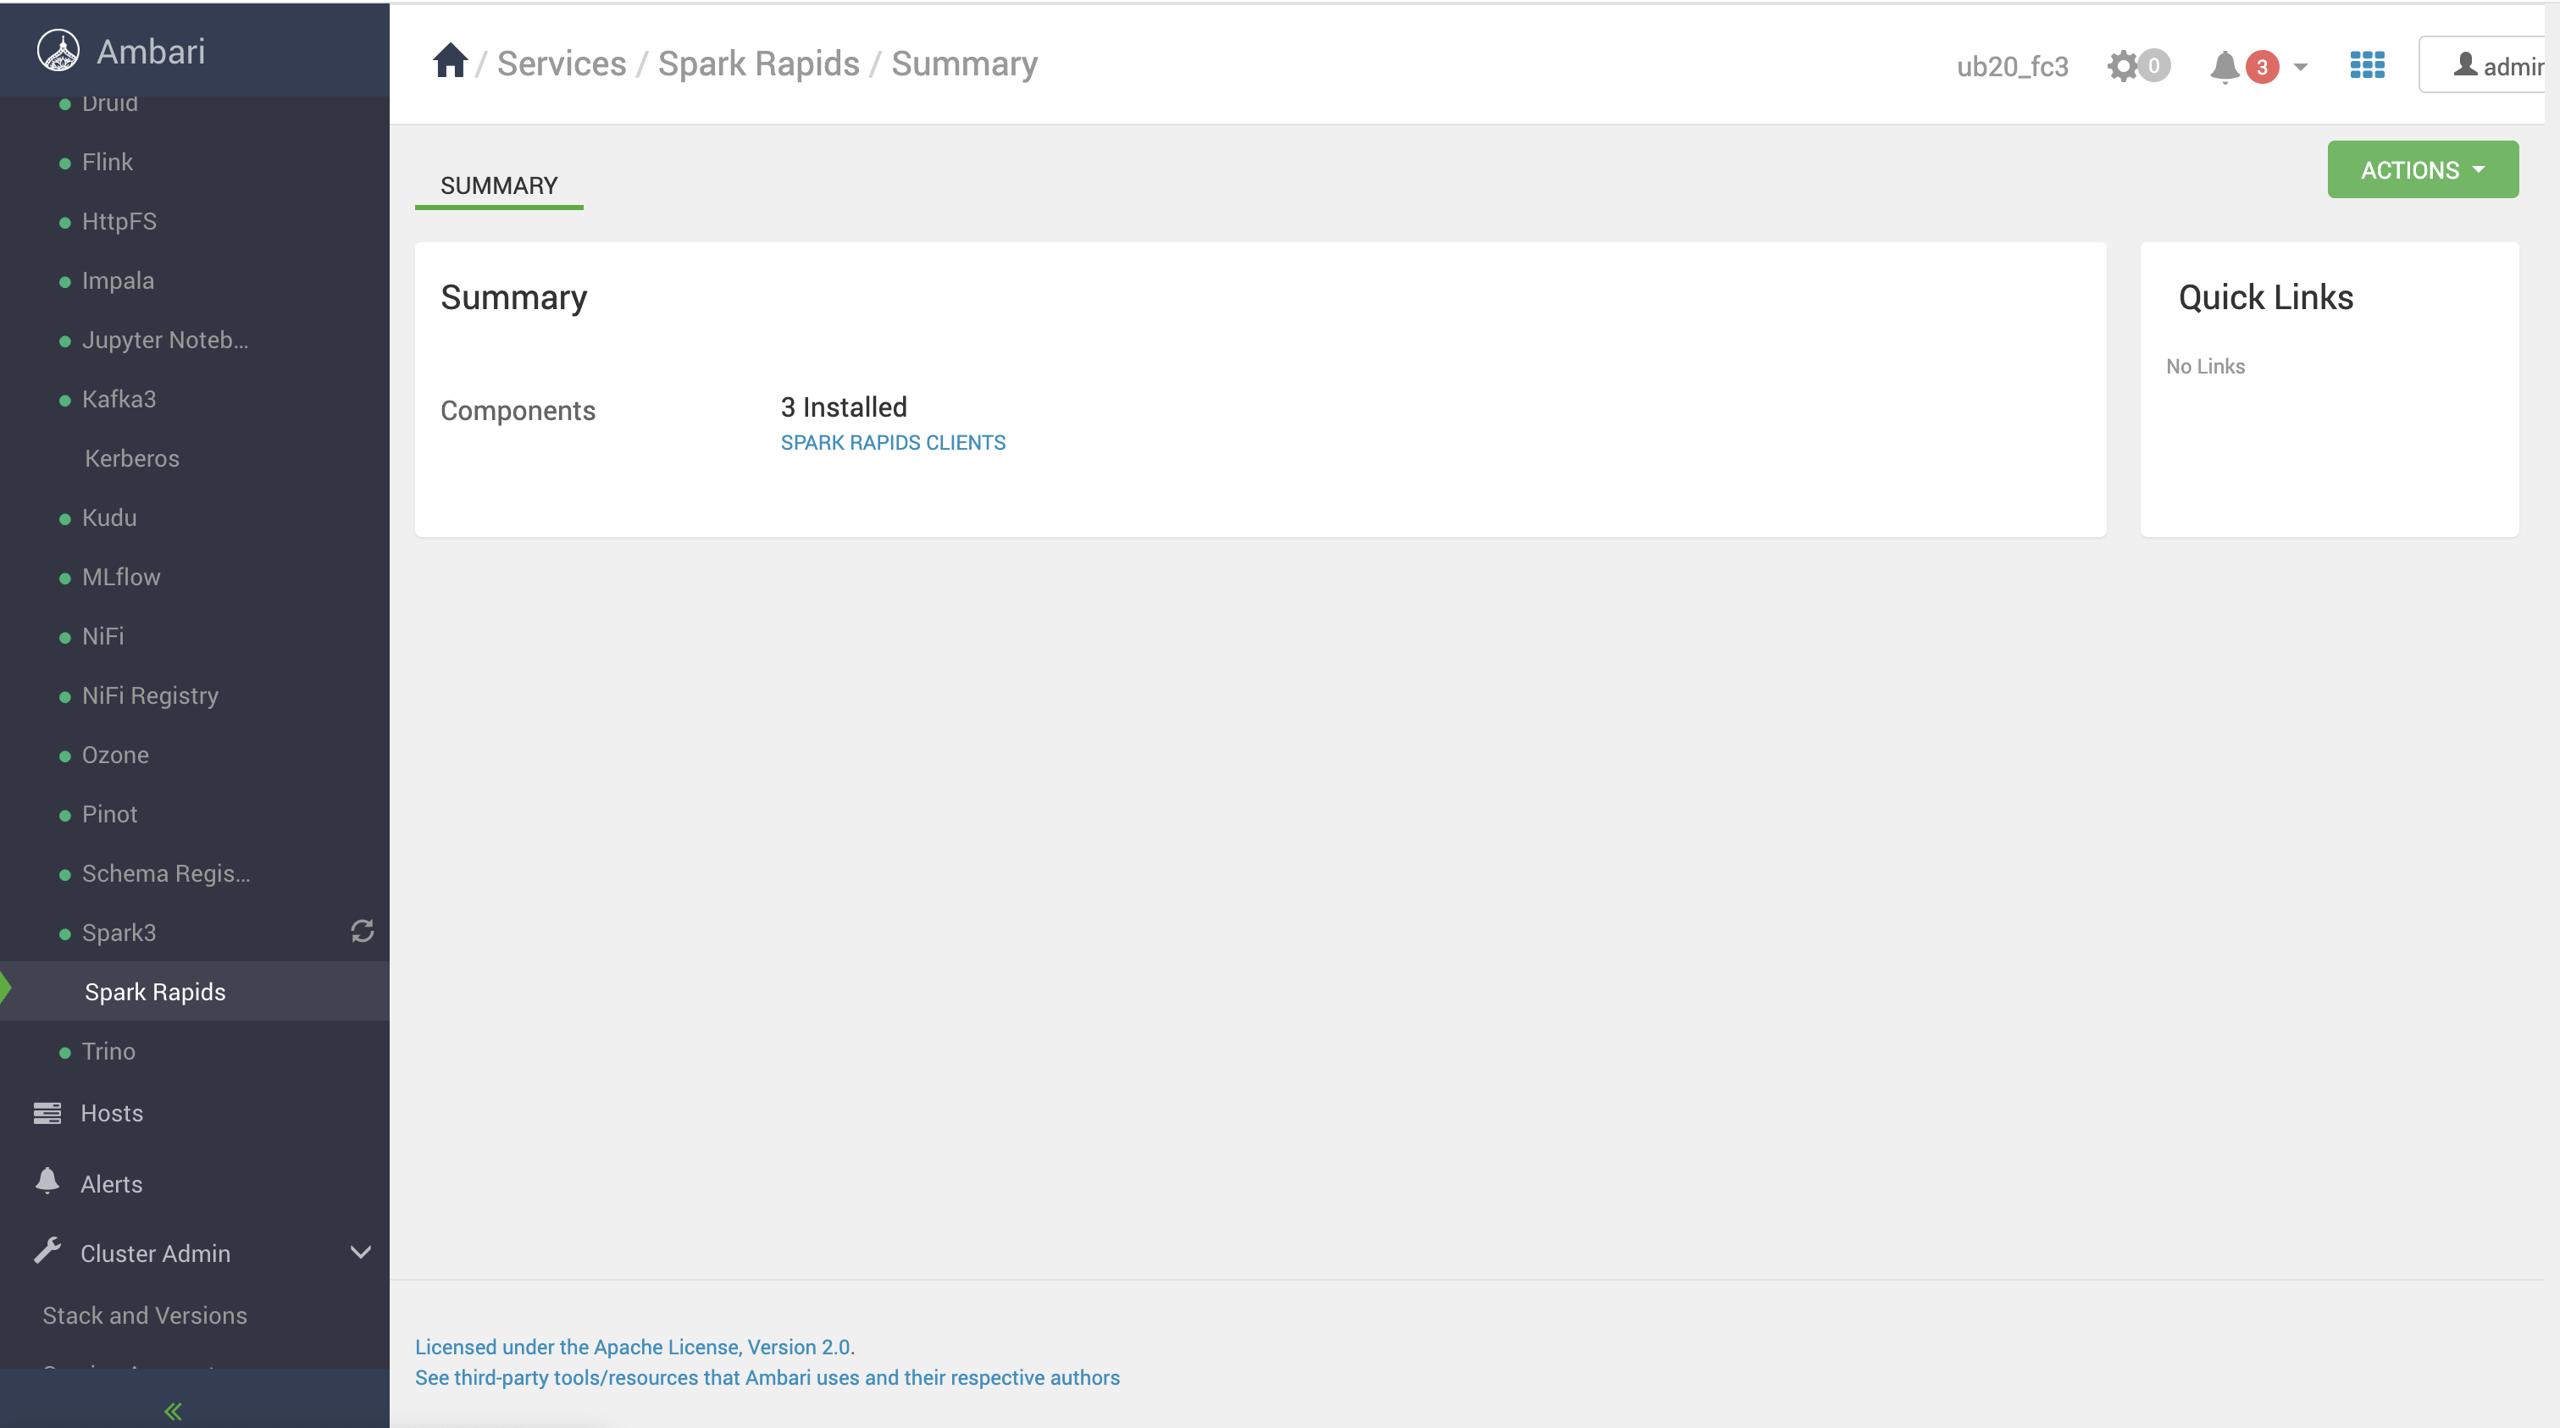
Method B: Spark Rapids Standalone Deployment
- Download the standalone tarball.
wget https://mirror.odp.acceldata.dev/v2/standalone_binaries/3.2.3.5-3/spark-rapids-25.03.3.2.3.5-3.tar.gz
- Set environment variables:
export HIVE_HOME=/usr/odp/3.2.3.5-3/hive
export SPARK_HOME=/usr/odp/3.2.3.5-3/spark3
export HADOOP_CLASSPATH=$(hadoop classpath)
Ensure these paths match your cluster’s directory structure..
- Validate CUDA installation:
nvidia-smi
This confirms GPU availability and CUDA version.
- Launch Spark Shell with RAPIDS:
$SPARK_HOME/bin/spark-shell \
--master yarn \
--conf spark.yarn.queue=GPU \
--conf spark.plugins=com.nvidia.spark.SQLPlugin \
--conf spark.rapids.sql.enabled=true \
--conf spark.executor.resource.gpu.amount=1 \
--conf spark.task.resource.gpu.amount=0.1 \
--conf spark.resources.discoveryScript=$SPARK_HOME/examples/src/main/scripts/getGpusResources.sh \
--conf spark.executor.resource.gpu.discoveryScript=$SPARK_HOME/examples/src/main/scripts/getGpusResources.sh \
--conf spark.metrics.enabled=false \
--jars rapids-4-spark_2.12-25.06.0.3.3.6.2-1-cuda11.jar,cudf-25.06.0-cuda11.jar
Adjust script paths and version numbers based on your environment.
- Run a sample job:
val df = spark.range(1, 1_000_000)
df.selectExpr("id", "id * 2 as double_id").show()
or
val df = spark.range(1, 100000000).toDF("id")
val result = df.groupByExpr("id % 100").count()
result.show()
Monitor the Spark UI (default: port 4040) to verify GPU usage.
- Validate job execution:
- Check ResourceManager logs for GPU assignment or RAPIDS loading issues.
- Look for log messages containing com.nvidia.spark.rapids.
- Optional logging:
--conf spark.rapids.sql.logging.enabled=true
Optional Steps
- Tuning: Adjust spark.executor.memory, spark.executor.cores, and spark.executor.instances for optimal performance.
- Library Version Check: Ensure Spark, CUDA, and CUDF versions are compatible.
- Python Jobs: If running with PySpark, update the above procedure accordingly (e.g., use pyspark instead of spark-shell).